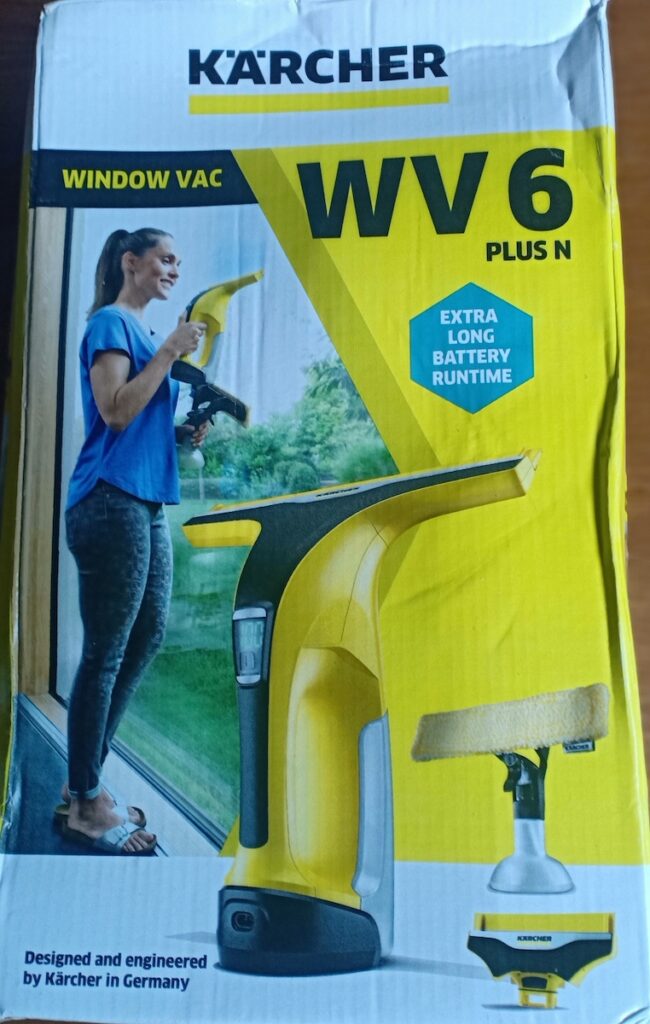
Kärcher WV 6 Plus N Window Vac
£115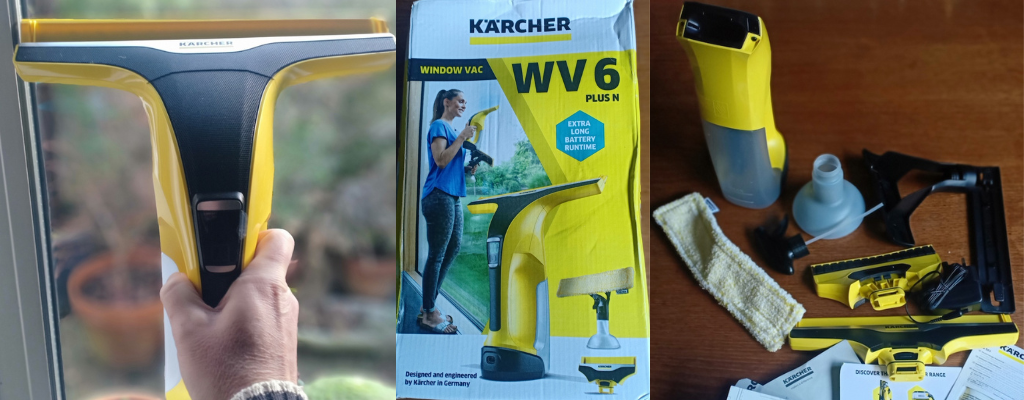
Pros
- Wide field of suction
- Long battery life
- Easy to operate
- Easy to empty
- Interchangeable heads
Cons
- Weight
- Size
I’ve recently purchased a Karcher WV 6 Window Vac to combat an issue I’ve been having. I had a problem with condensation on windows this winter. I’ve reduced my central heating temperature by 1 Celsius due to the increased gas prices. This means the cooler air carries less water and it’s getting dumped on my cold windows.
I had been wiping the windows down with a cloth, but that doesn’t really remove water from the atmosphere. When I put it on the radiator to dry, that water reenters the atmosphere when it evaporates. As a result, I wanted to try a window vac that could suck up the water. This means it can then be drained down my sink and removed from the environment.
This review relates to the Kärcher WV 6 Plus N Window Vac kit.
Packaging
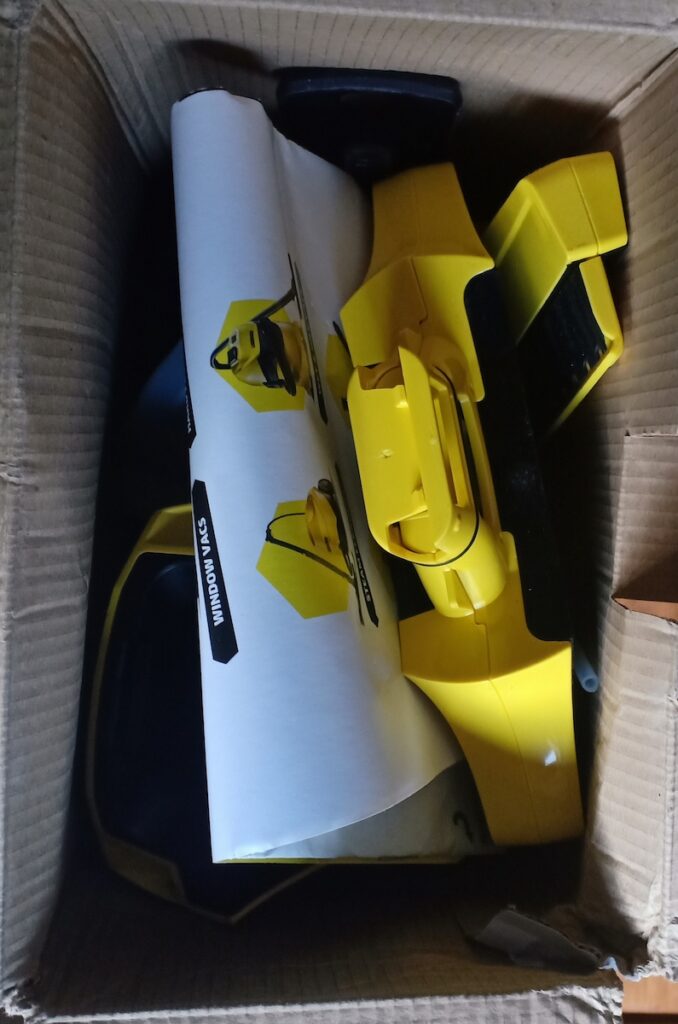
I purchased my Kärcher WV 6 Window Vac from Amazon Warehouse. It was listed as having a damaged box (which you can see in the photo above), but everything else was as new. This meant I was able to make a small saving on the usual ticket price, but the product was just as good as new.
The items in the box were tightly packed in with limited protection against damage during transit. Fortunately there was no visible damage to the items inside when I removed them to check.
I will usually be using this to remove condensation on windows rather than cleaning them. So I kept the box to store the second cleaning blade, along with the spray bottle.
Box Contents
The WV 6 is not an entry-level window vacuum. It’s a premium price as the box contains quite a bit of additional kit:
- Kärcher WV 6 Window Vac
- Large suction nozzle
- Small suction nozzle
- Fast charger
- Spray bottle with microfibre wiping cloth
- Window cleaning concentrate
- Instructions

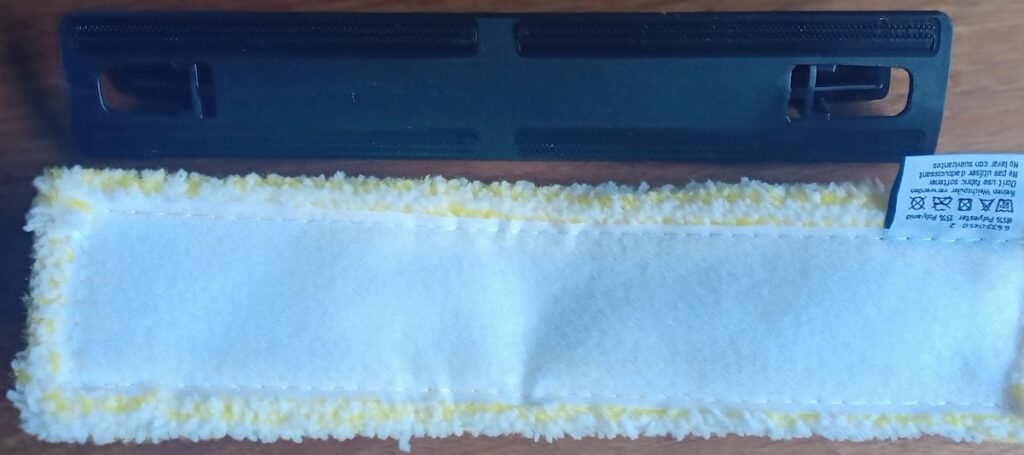
Microfibre Wiping Cloth
The spray bottle and microfibre cleaning cloth come as individual parts. It needs a small amount of construction before it can be used.
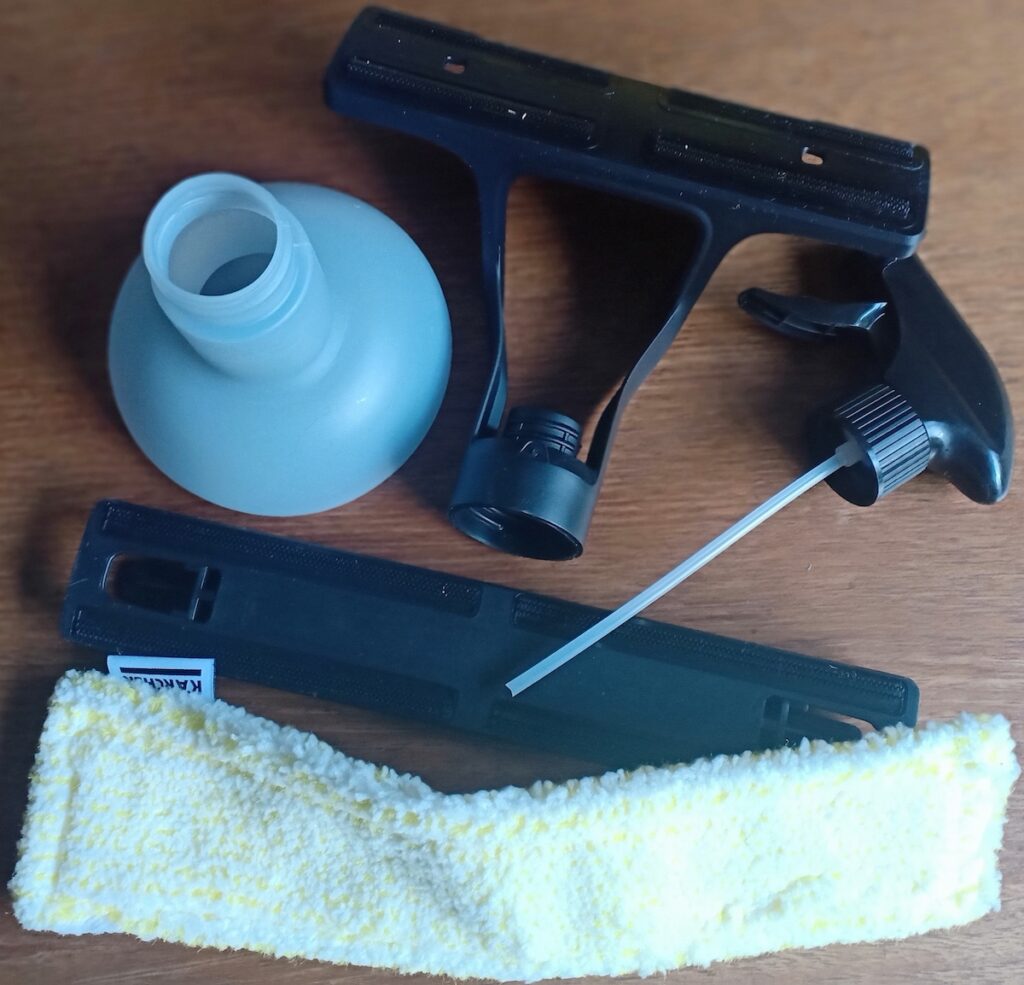
The microfibre cloth measures 280mm by 70mm, a good size for washing windows. It is attached to the backing plate by placing the white material against the stickels on the back plate, which grip the material a bit like velcro.

Spray Bottle
When the microfibre cloth has been attached to its support, the framework it attaches to the spray bottle with needs to be constructed.
Firstly the spray nozzle needs to be fed through the hole at the bottom of the lid and screwed on to the grooves on the framework. This is relatively straightforward for nimble fingers.
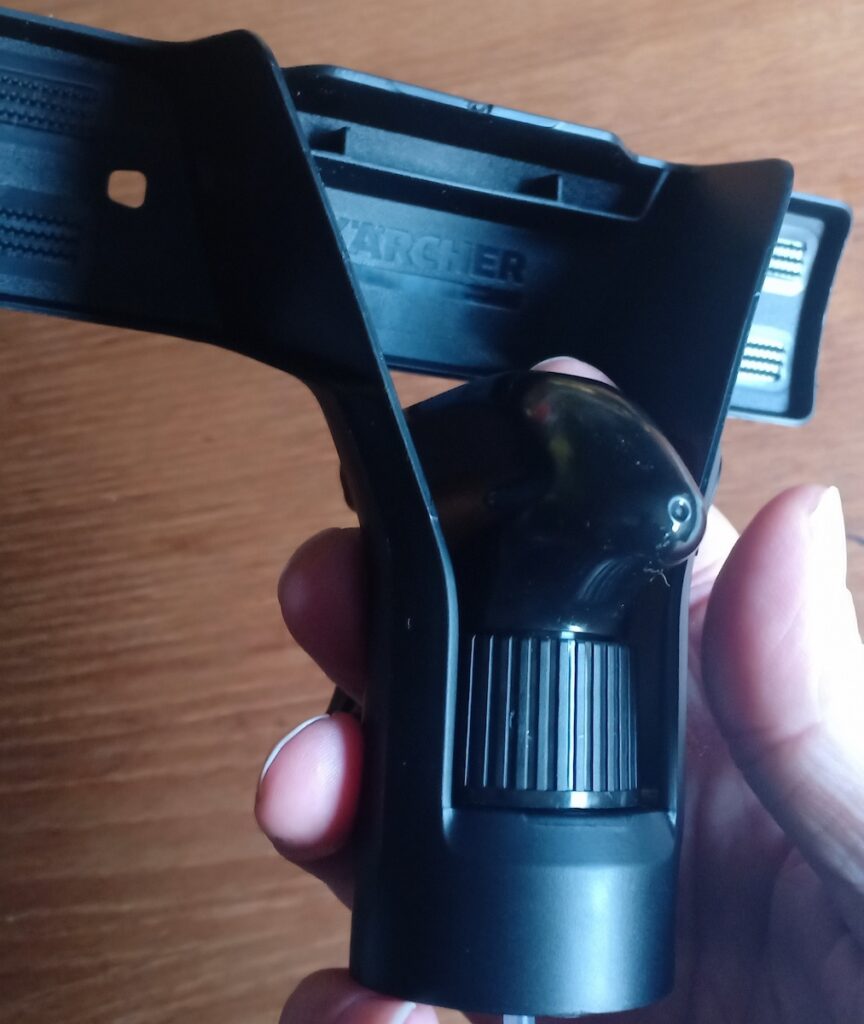
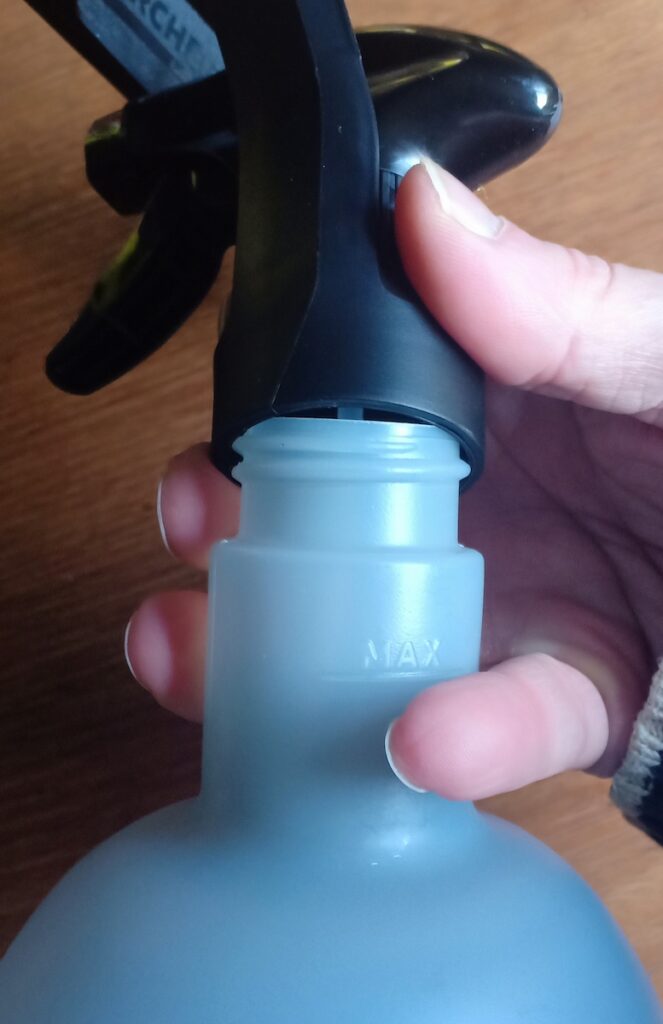
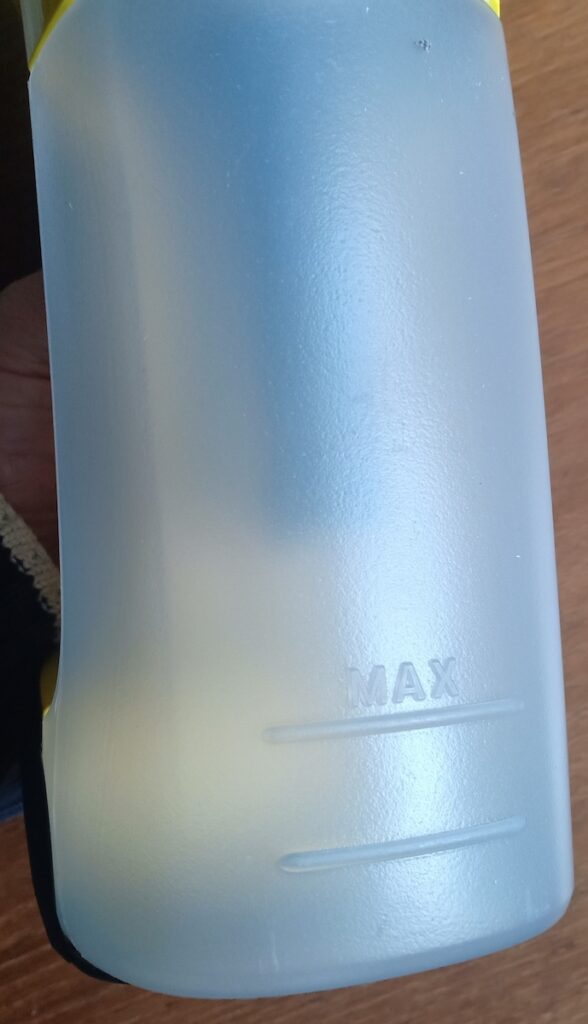
Next the bottle needs to be screwed on to the lid, with the pump tube being inserted into the bottle. Obviously, when you come to use this you will need to put window cleaner and water into the bottle.
You can see that there is a clear MAX marker on the bottle (above my finger in the photo) where the cleaning fluid and water should be filled up to.
The bottle itself isn’t huge, it’s 103mm across at the bottom, and approximately 100mm high from top to bottom.
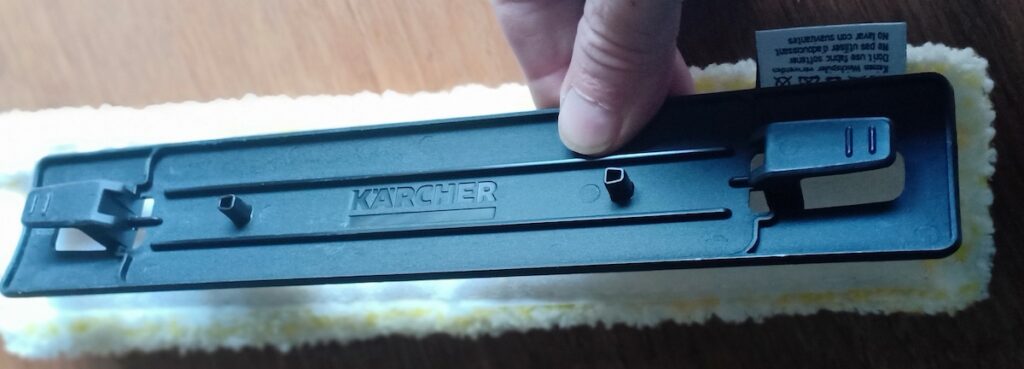
Attaching the Microfibre Cloth to the Bottle Framework
Finally the microfibre cloth frame needs to be attached to the framework around the bottle.

There are two lugs on the microfibre cloth backing plate that have to be lined up with two holes on the framework.
When the lugs are aligned with the holes in the framework, gently push the framework onto the microfibre cloth backing until the two clips (one each side) click into place.
To release the microfibre cloth from the framework, simply press the release clip on each side at the same time. This will then click and release the cloth support.

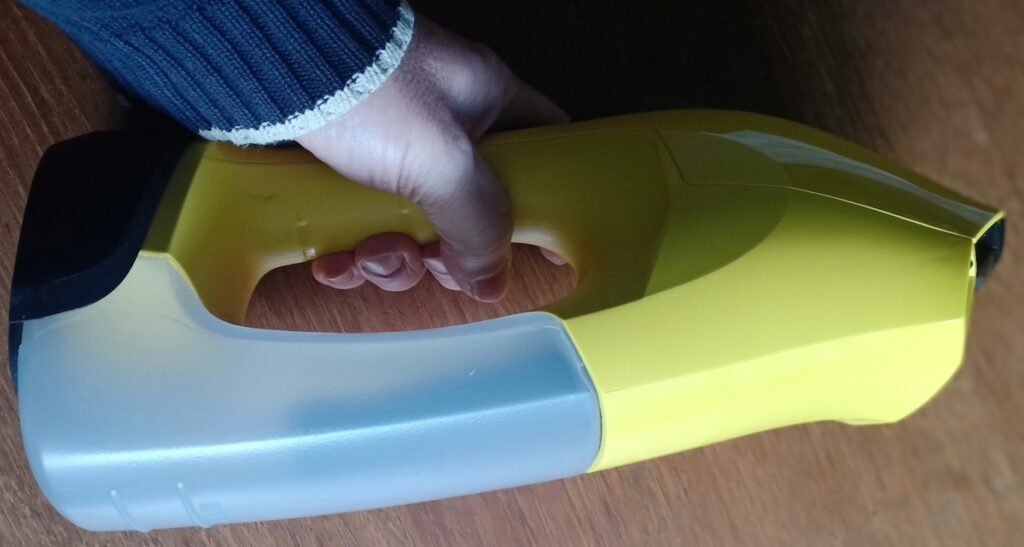
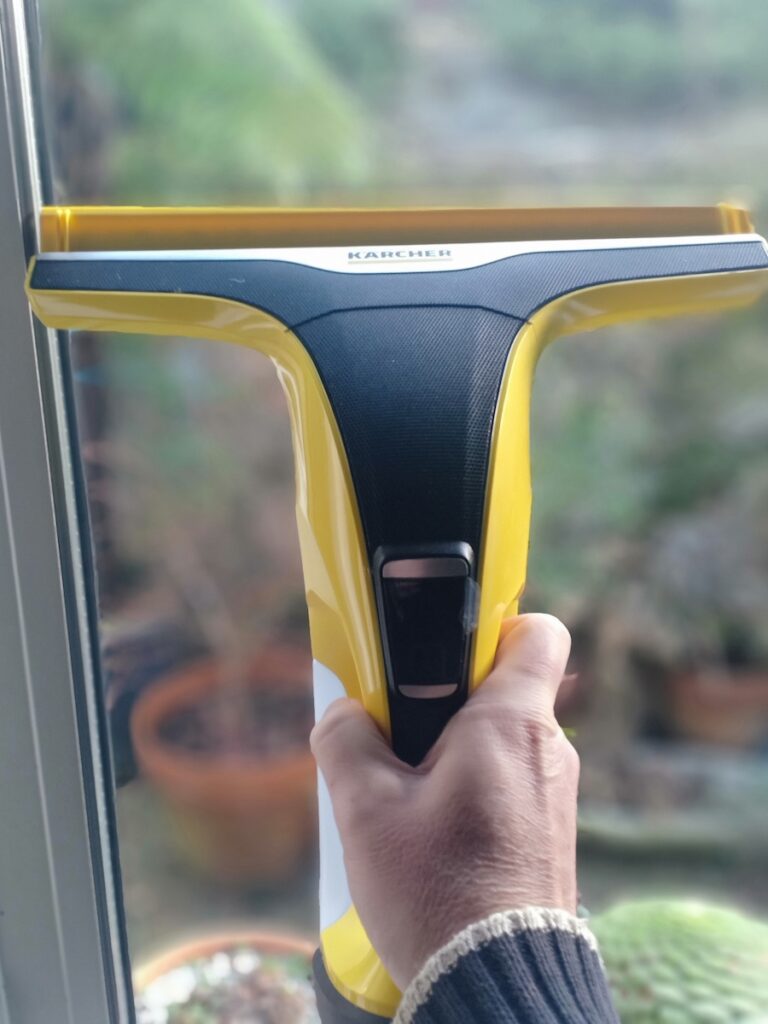
Karcher WV 6 Size
The body of the Karcher WV 6 Window Vac is 255mm tall, 115mm deep and 88mm across, approximately. The photo to the right shows the size of the unit compared to an average hand.
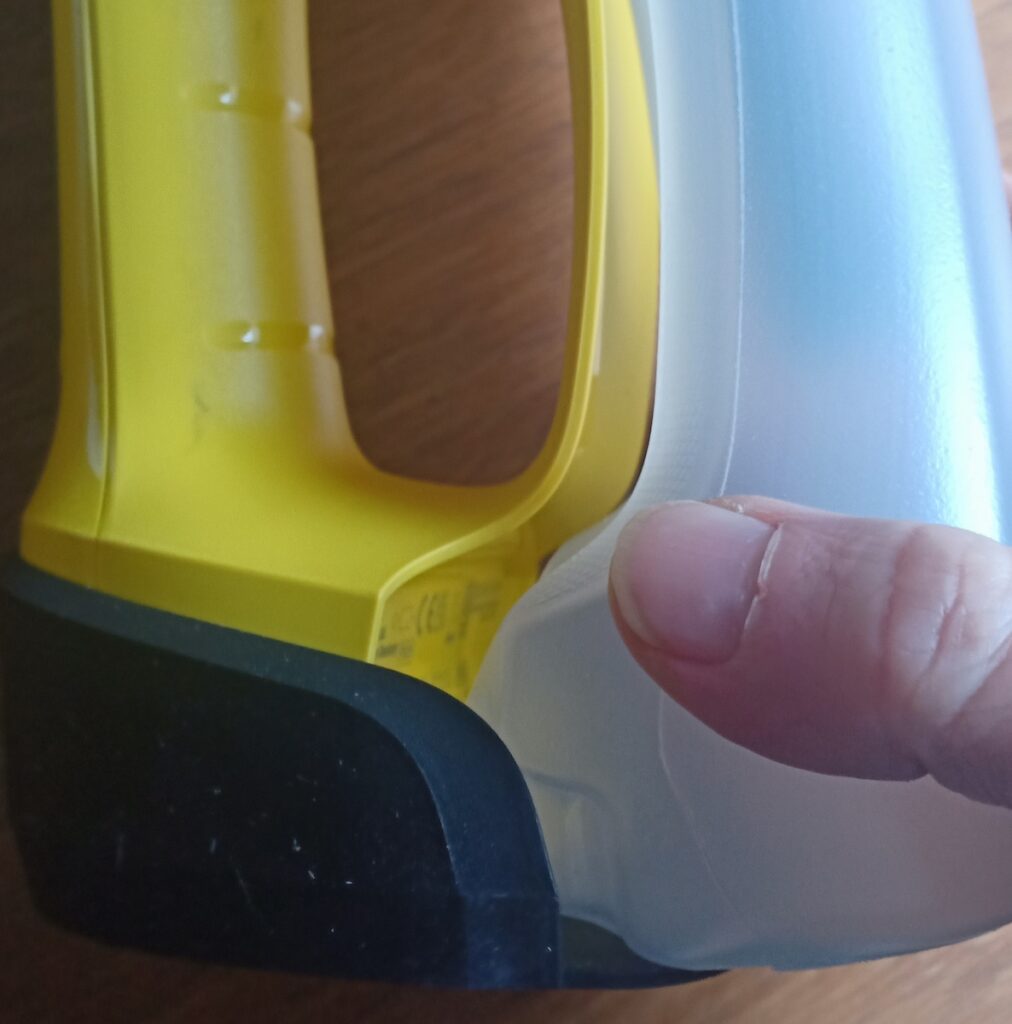
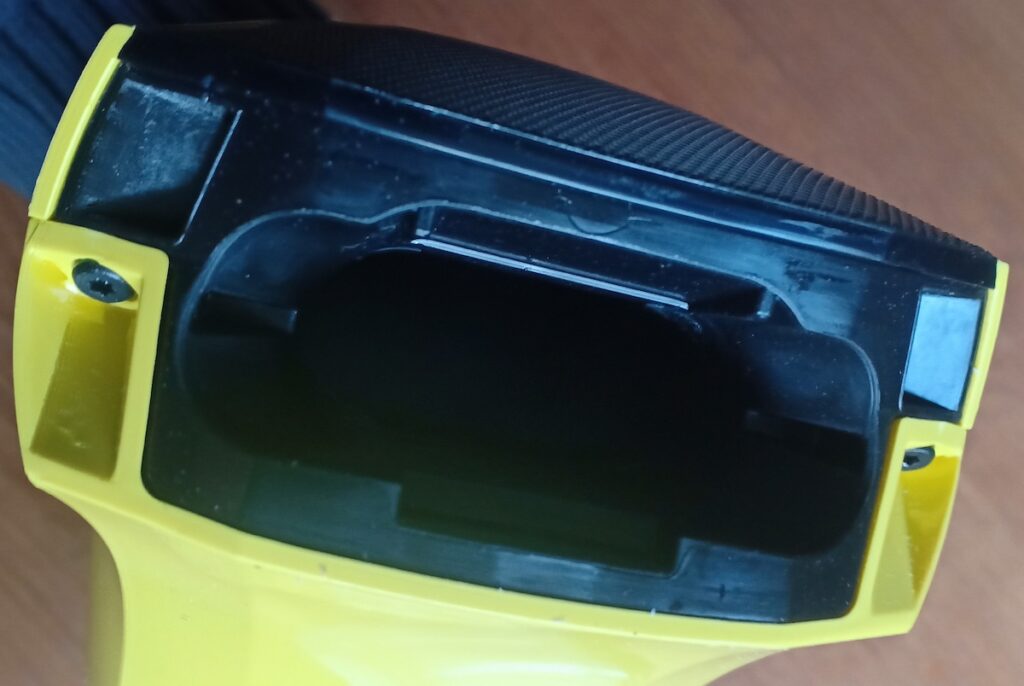
Water Collection Bottle
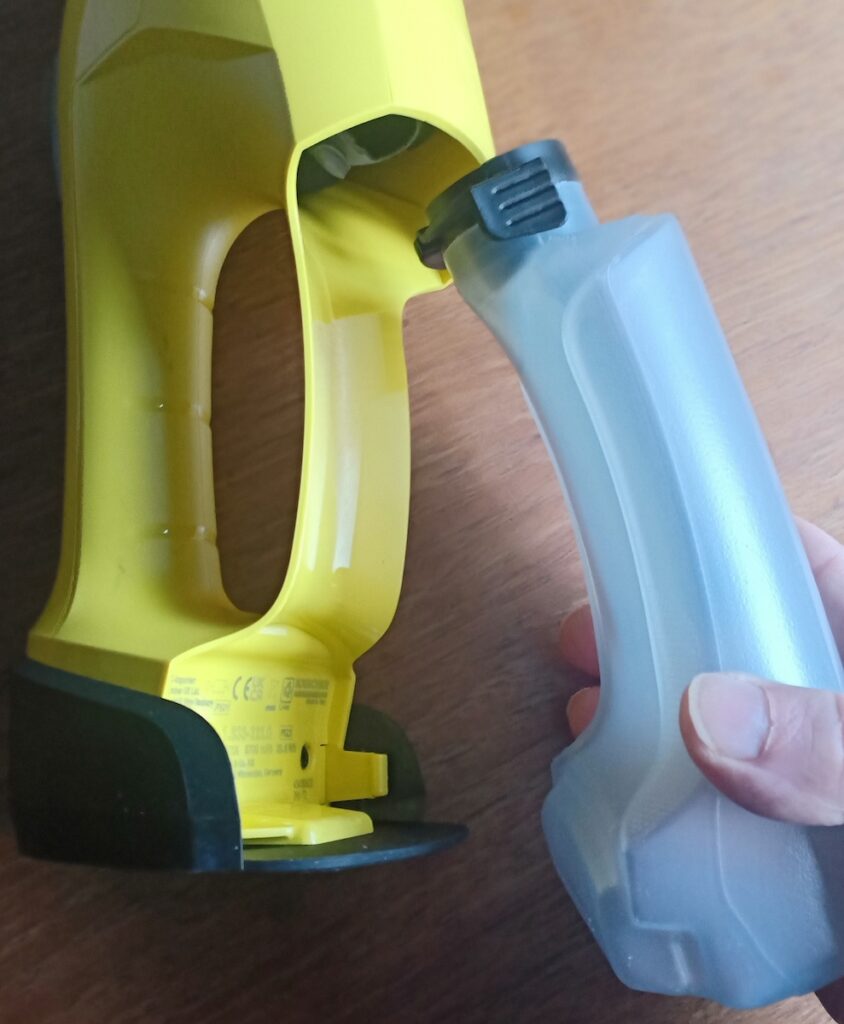
The collection bottle is very easy to remove, simply by pulling gently at the bottom. It then detaches from the top easily. To empty the bottle it is simply a case of turning upside down over a sink. The collected water drains out quite quickly.
To reattach the bottle, it’s a case of reversing the procedure. Gently push the top of the bottle into the attaching area in the vacuum body. Then simply push the bottle gently backwards into the housing area on the vacuum body. I found this process extremely easy to perform, meaning it’s very straightforward to empty water after use.
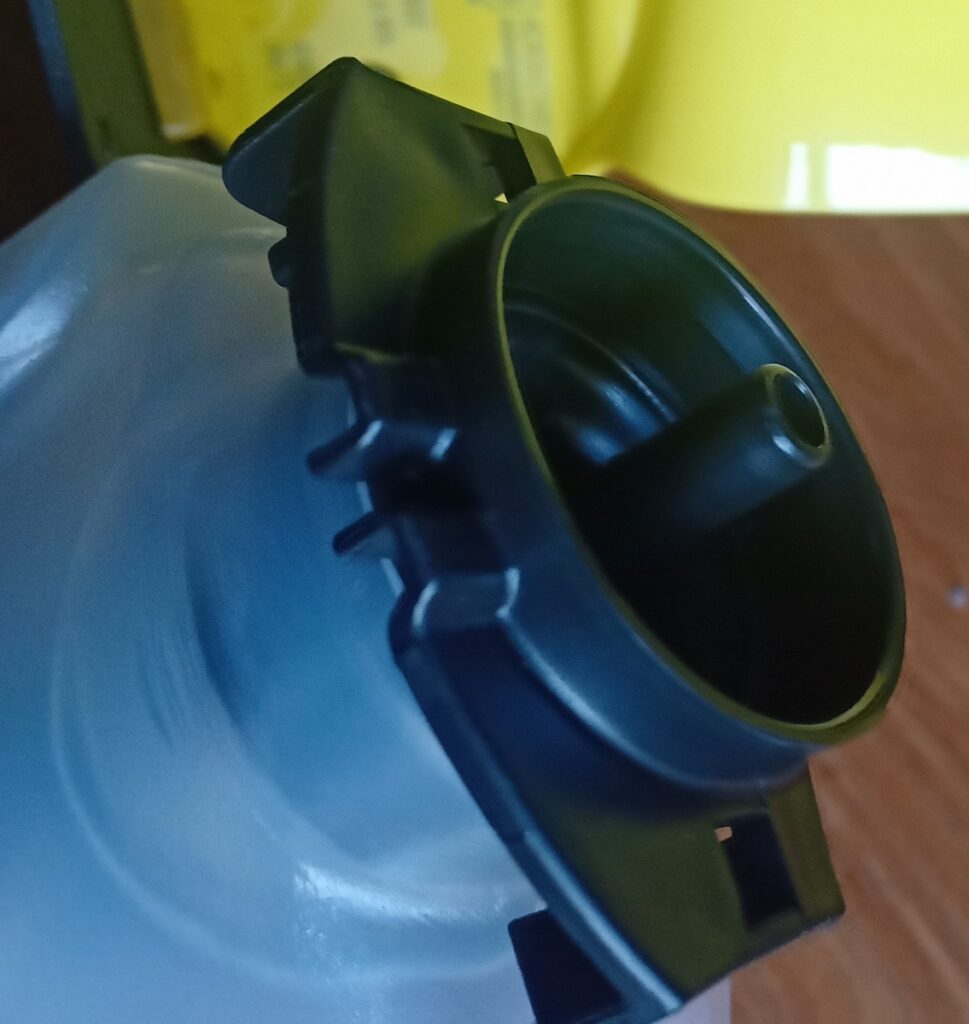
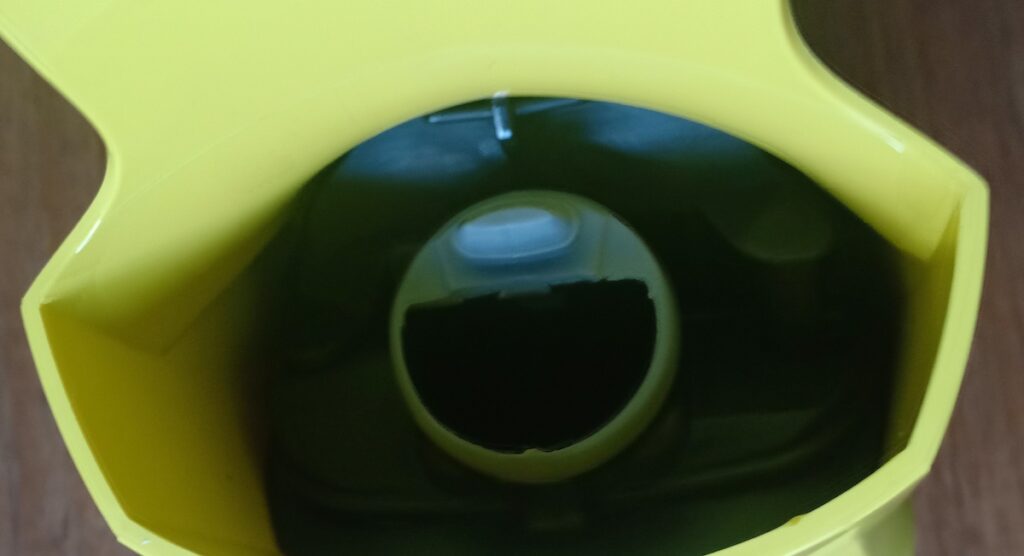
The water collection bottle has a clear maximum fill mark on the bottle. It doesn’t look like it contains much in the bottle, but it does take in quite a bit of water before reaching this point.
As a matter of good housekeeping, I always empty the bottle after every daily vacuum. This means the bottle doesn’t fill up much, and more importantly it ensures the collected water is drained away and out of the house.
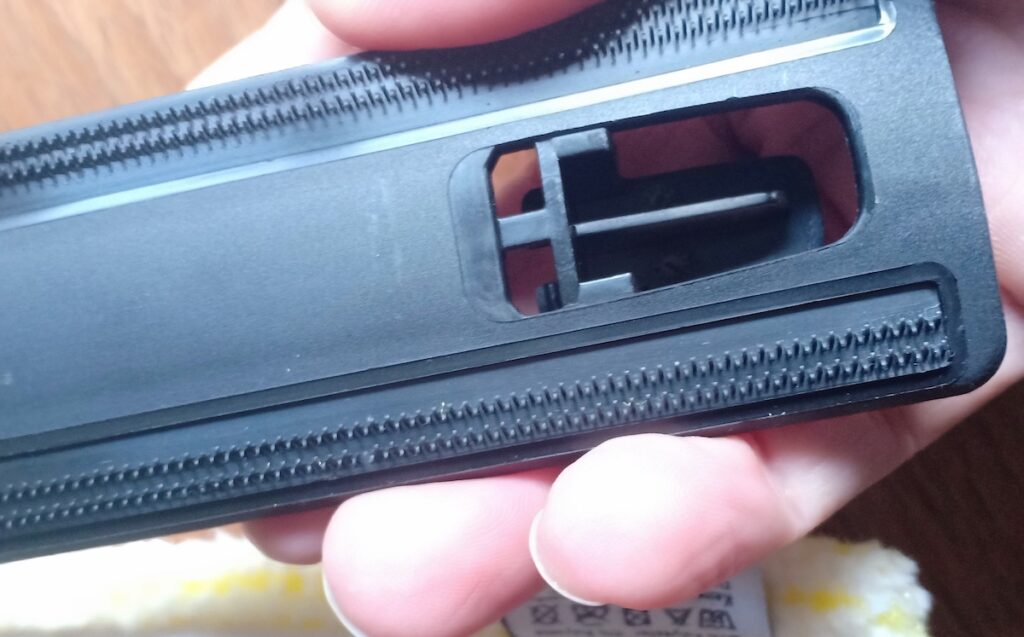
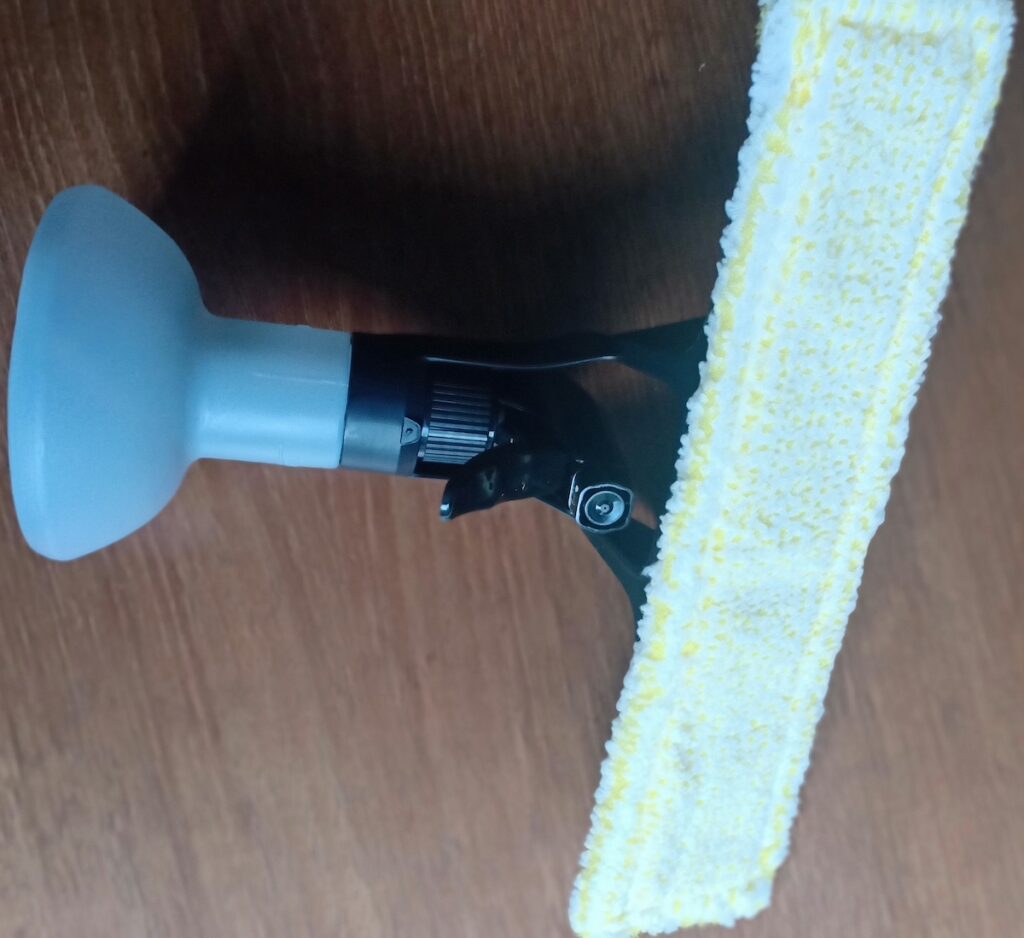
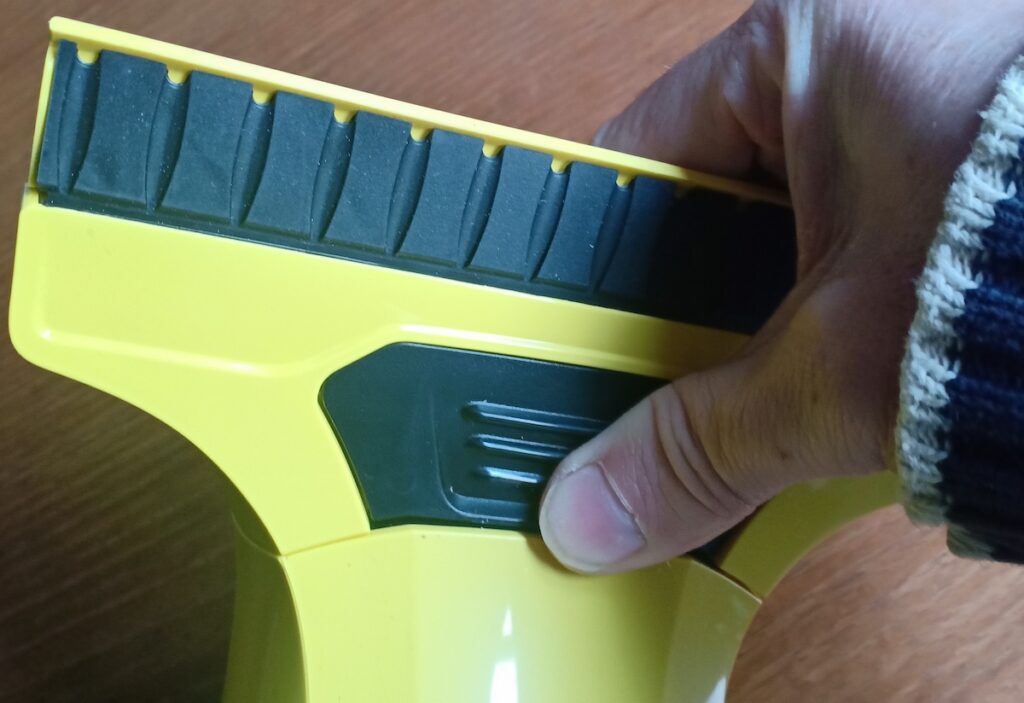
Karcher WV 6 Cleaning Heads
The Kärcher WV 6 Window Vac comes with two cleaning heads. One is 170mm across, the other is a much larger 278mm across the cleaning blade. I’ve been using the smaller blade to remove the condensation from my windows. I have also been using it to dry down the walls of my shower after use. I haven’t used the larger blade yet, but I’m sure I will use it when I clean the windows inside and out. The larger area it covers will make it a quicker job.
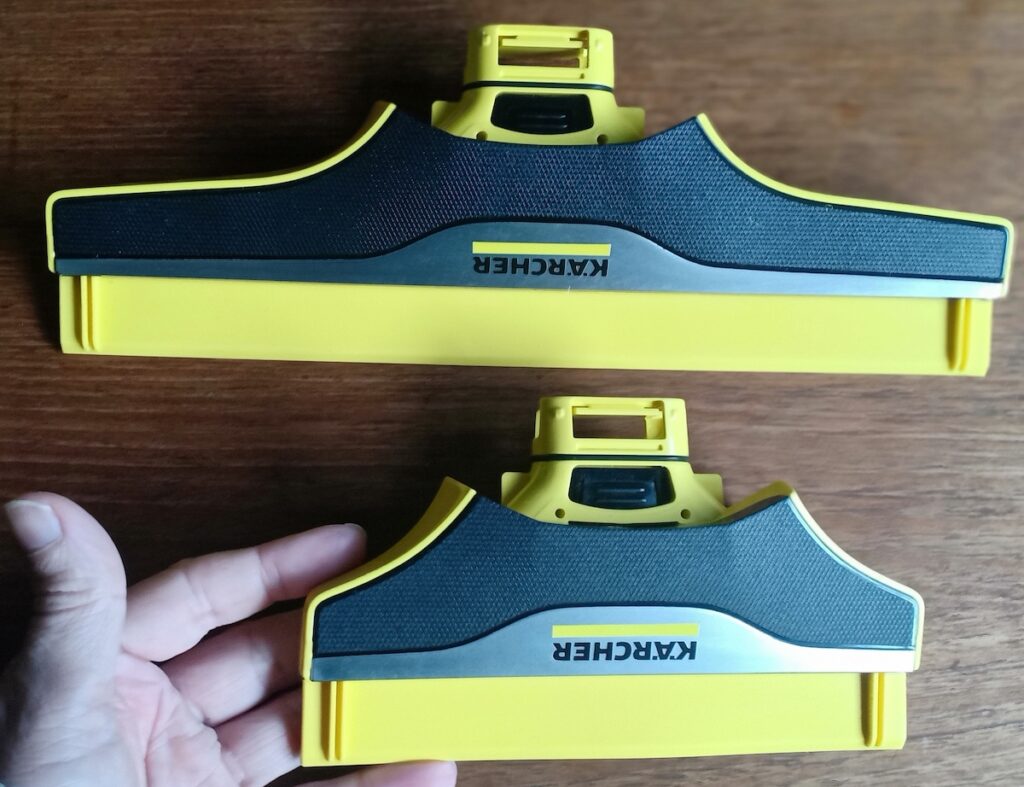
The cleaning heads have a flexible layer (I assume it’s rubber) which helps collect the water and flow it towards the vacuum.
Attaching a Cleaning Head
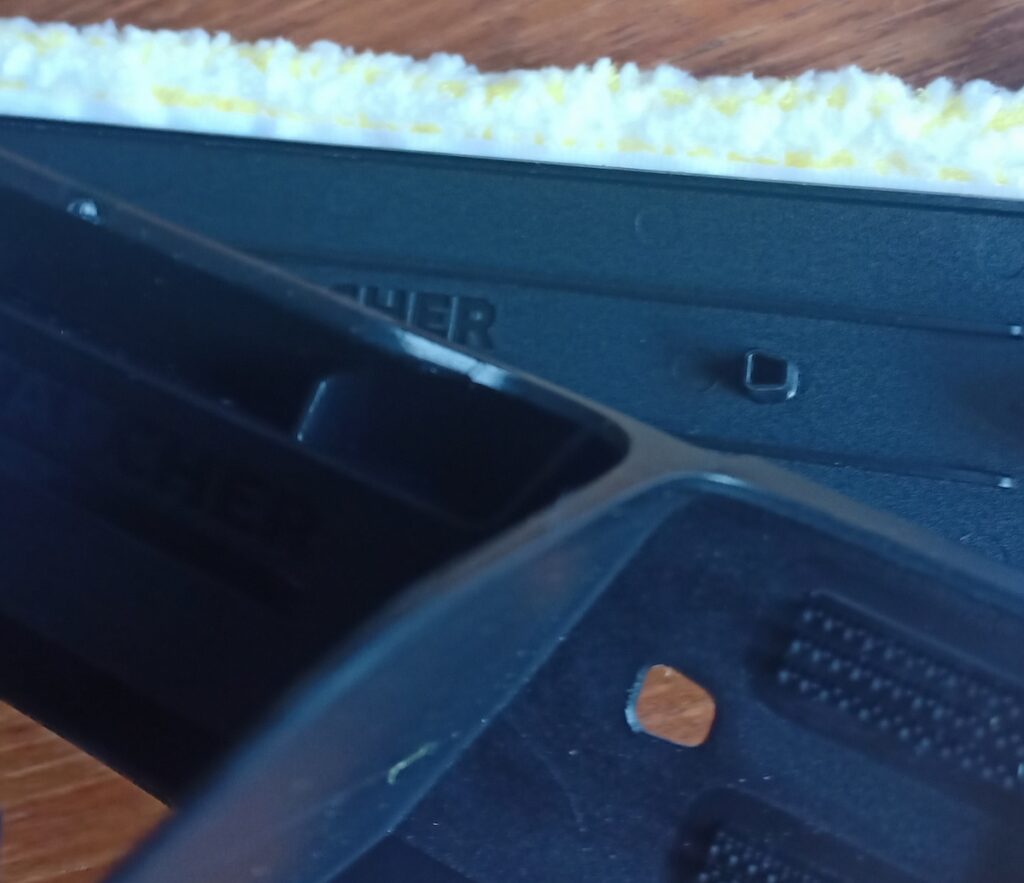
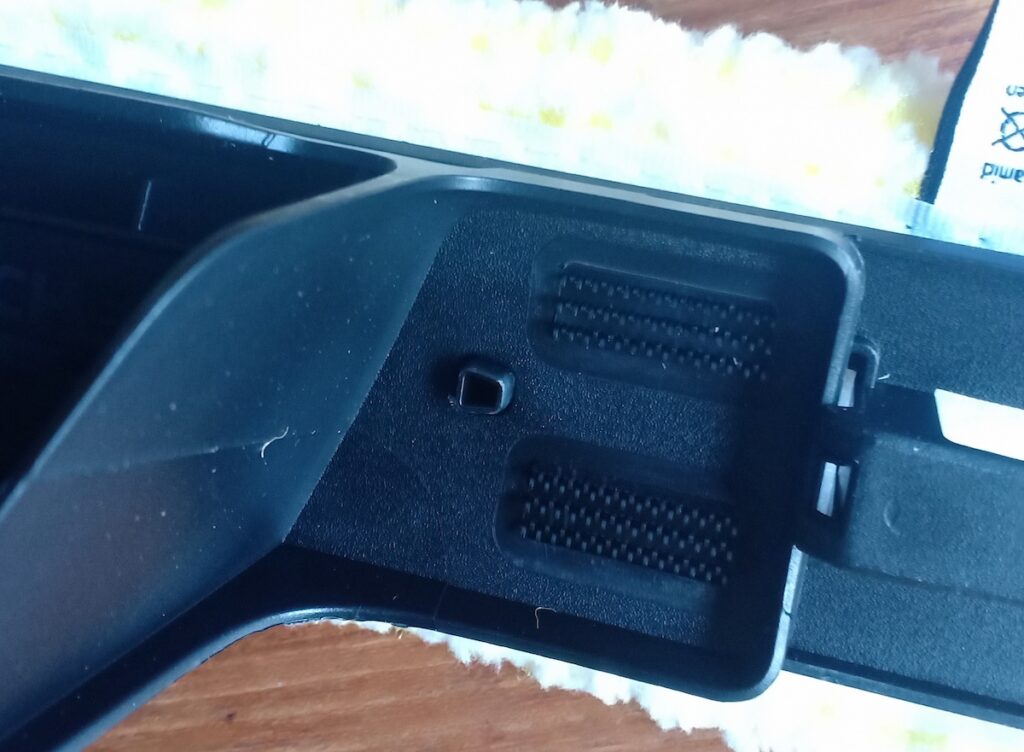
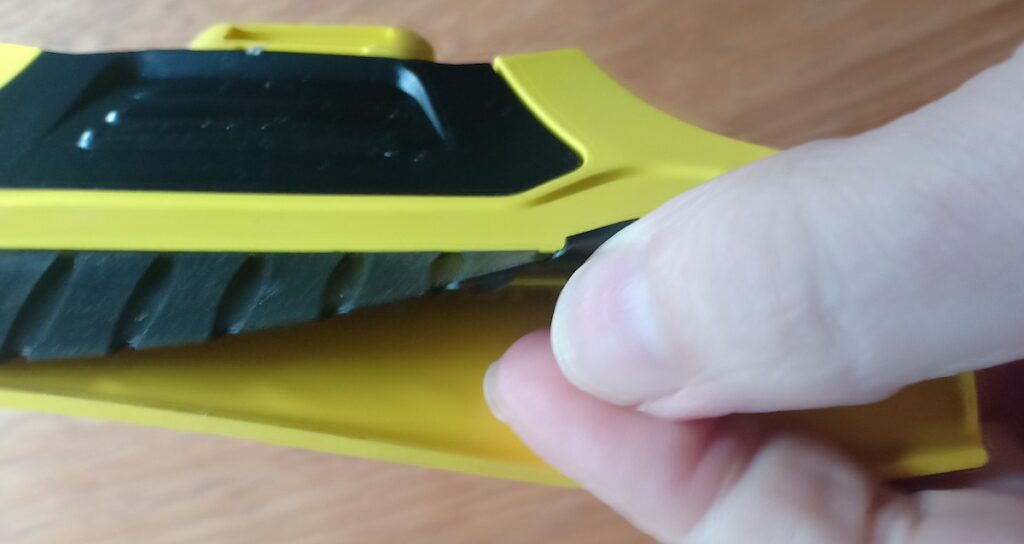
Each cleaning head has a clear attachment to slot into the main WV 6 body. Be careful as it’s not clear which way around the head slots in. Keep the Kärcher logo on the side facing the power button on the vacuum body. It will then easily slot into the body. Mine doesn’t always sit in there cleanly, it works loose slightly. It’s then just a case of pushing it back in slightly.
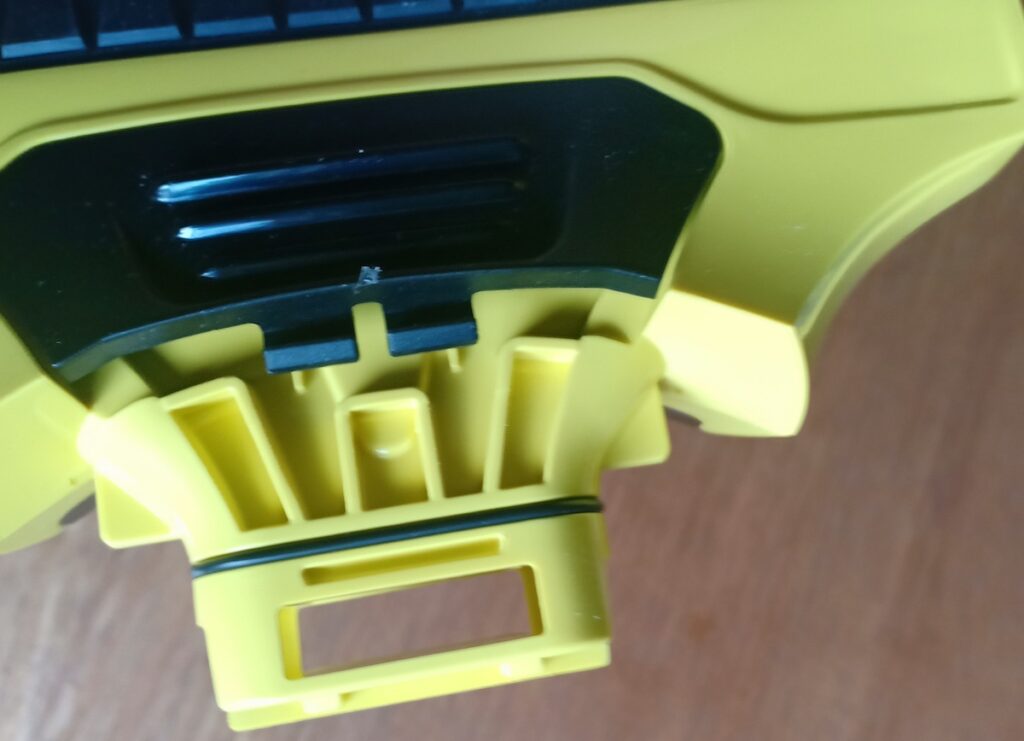
To remove the head, grip firmly and gently pull off the base unit. It’s quite easy to remove it, and doesn’t offer much resistance.
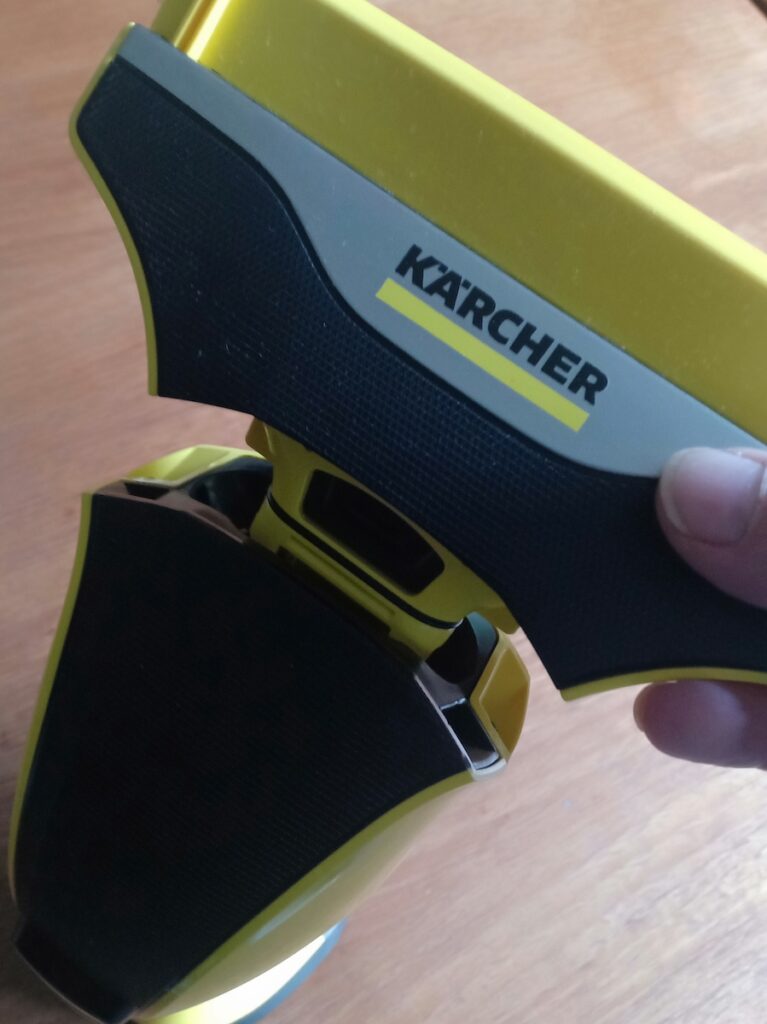
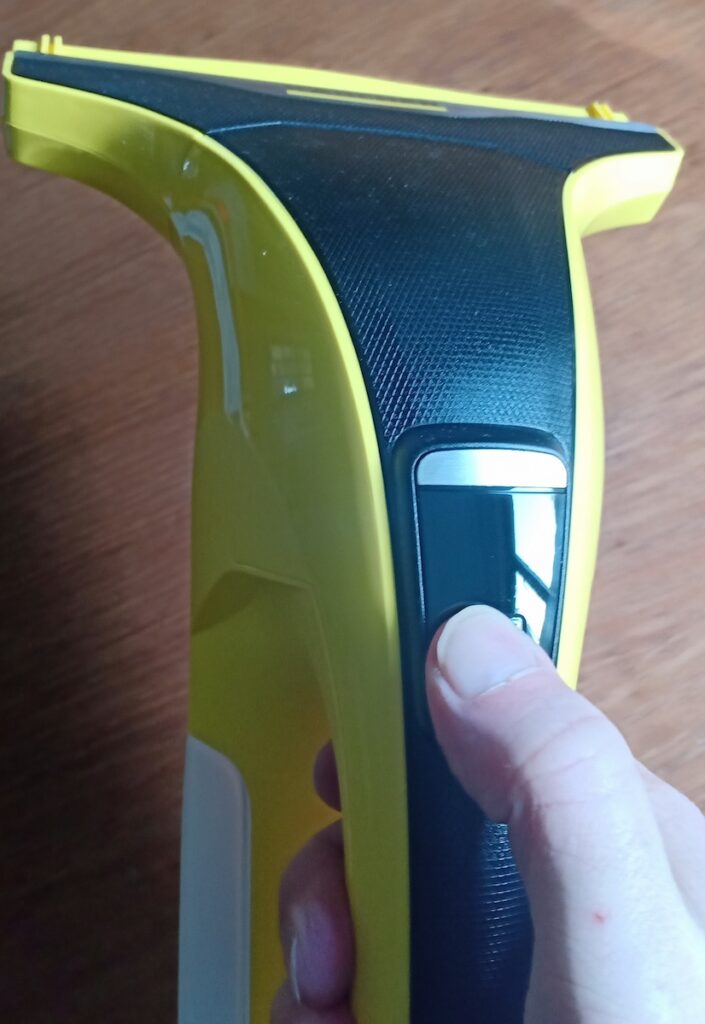
Turning On and Charging the Karcher WV 6 Window Vac
The power button for the Kärcher WV 6 is very accessible on the handle, although not instantly visible. It’s just underneath a digital display which shows the percentage of charge time remaining (when turned on). Aim for just above the bottom silver line, which is where the button is located.
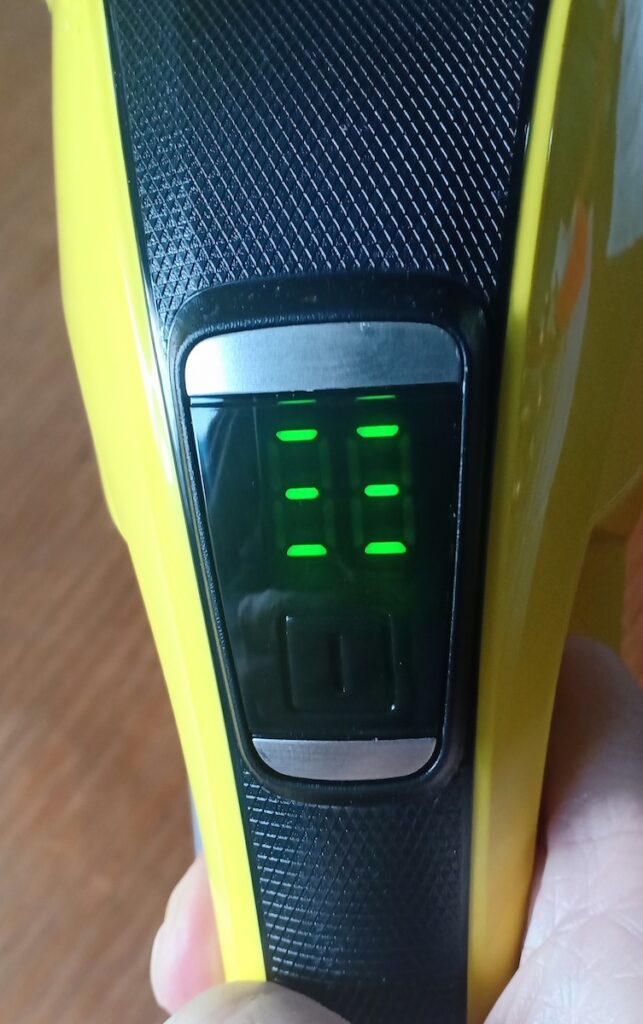
When charging the WV 6 it cycles through 1 to 3 rows of green lights to show the charging process is underway. When fully charged, 100 (for 100%) is shown on the display.
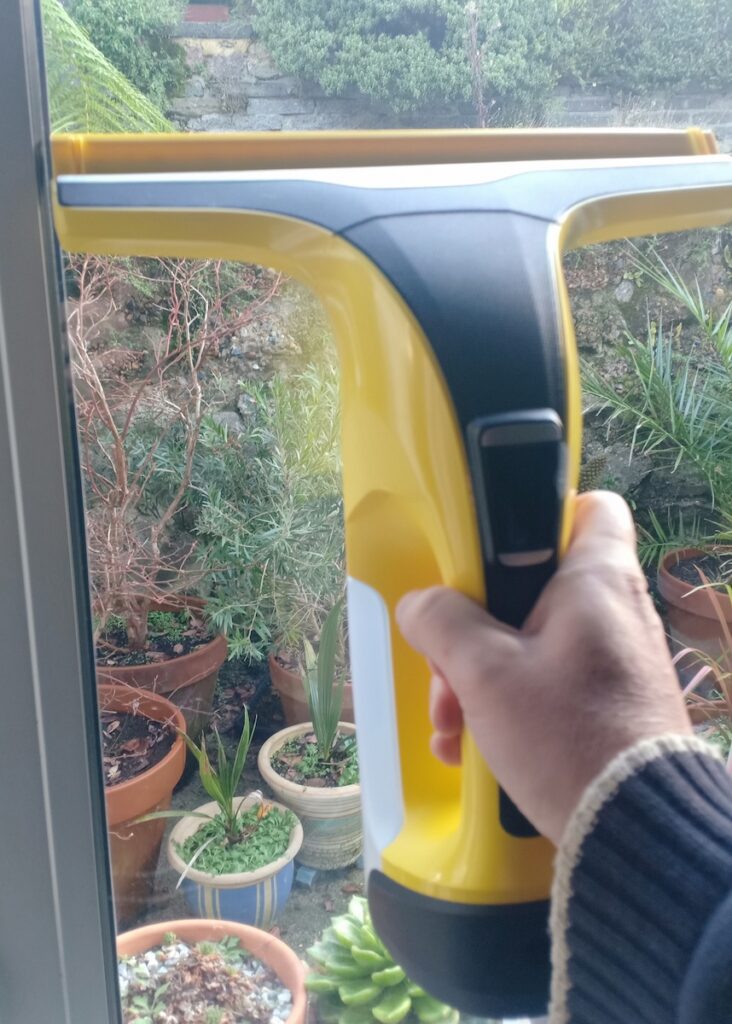
Using the Kärcher WV 6 Window Vac
To use the Karcher WV 6 Window Vac, simply press the power button to turn it on. Then use it either top to bottom on a window, or side to side. I don’t believe it’s intended to be used upside down from bottom to top.
The WV6 isn’t silent, it does have a motor in it after all. But it is relatively quiet to use.
It is also not a light window vacuum cleaner. My WV 6 with the smaller cleaning head on weighs in at 730g. This is fine for my use, but I imagine if you’re using it to clean a lot of windows inside and out, you will start to notice its weight!
It glides smoothly over the window surface, leaving next-to-no liquid in its wake. I was genuinely surprised with how much liquid it sucked up. It meant I didn’t need second passes to remove additional liquid.
I’m even able to use it on the frame to remove condensation, even though it’s an uneven surface. When used on the frame it doesn’t remove as much liquid as using a cloth. But what it is doing is enabling me to physically remove the water from the window and expel it down the sink and out of the house.
I haven’t, as yet, tested the window cleaning bottle and microfibre cloth. As I write this, It’s a bit too wet and wild to be outside cleaning windows! But it does appear well made and if the window vac is anything to go by, it will do a good job.
Karcher WV 6 Battery Life
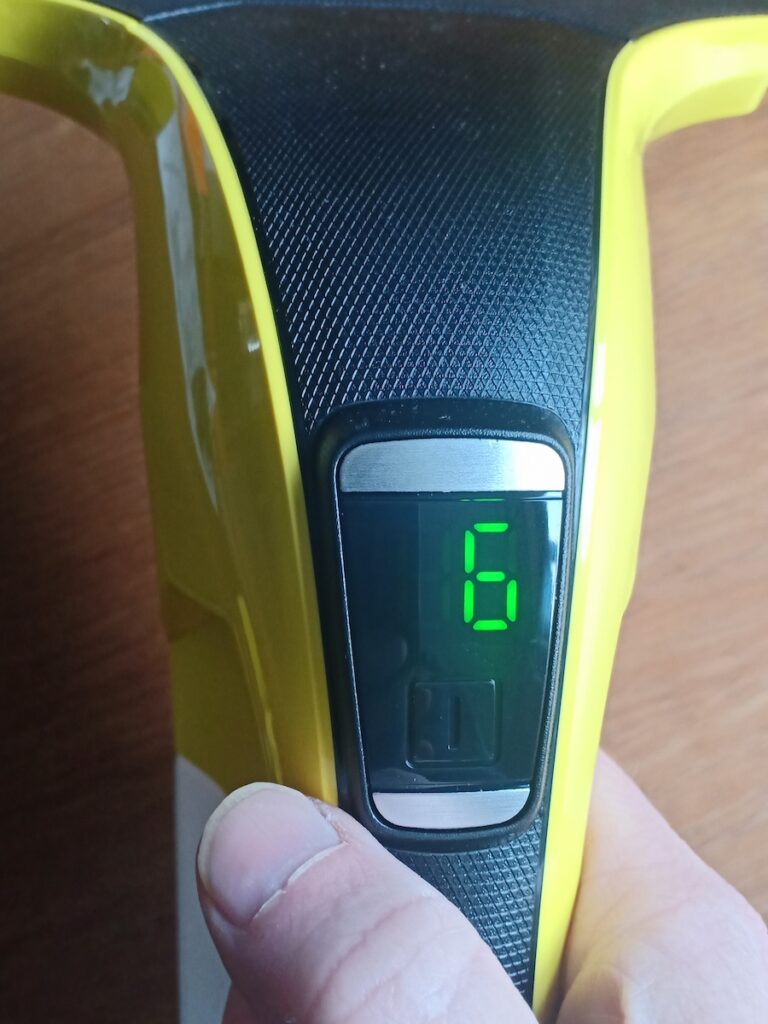
I’ve been using the Karcher WV 6 Window Vac for approximately 8 days to remove condensation from 6 windows (4 large, 2 small). I’ve also used it 4 times to remove moisture from the bathroom tiles after I’ve showered. So far from this use the display is showing 74% battery remaining after the initial full charge.
This seems like good efficiency to me, and would easily have enough charge for me to fully wash and dry my windows inside and out.
Recharging the battery was reasonably quick to perform. I didn’t time it, but I’m guesstimating that it probably took a couple of hours.
Karcher WV 6 Window Vac Summary
The Kärcher WV 6 Window Vac is an exceptionally good window vacuum, which performs its job well. It’s not a cheap purchase, but the build quality reflects the price paid. I’m hopeful that this will result in many years of use to both remove condensation and clean my windows. The battery life appears excellent, and is pretty quick to recharge for continued use.
In use it does a great job of removing water, leaving next-to-nothing behind. It seems to leave no streaks in use, and efficiently sucks the water into its bottle. Whilst the bottle doesn’t look like it holds much water, it’s big enough and easy to remove and empty.
My concerns about the WV 6 is that its not light, so it may start to feel really heavy with continued use. It’s fine for my occasional use, so not an issue for me. Everything else about the Kärcher WV 6 Plus N Window Vac set is a thumbs up from me.
If you’re also looking for a portable vacuum cleaner you may like to read my review of the Worx WX030 Battery Vacuum Cleaner
Guy Goes Green
If you found this review useful, you may like to subscribe to my YouTube Channel, Guy Goes Green.
Like most people, I’m not perfect, so I’m going to try and change my life to make less of an impact on the earth. One small step at a time. Join me as I look at ways I can reduce my impact. What works? What doesn’t? I’ll share my experience, to help you make informed choices for yourself. Subscribe now, and come join me on the journey!
Watch now at Guy Goes Green.