Selections Tomato & Vegetable Growbag Pots x6
£19.99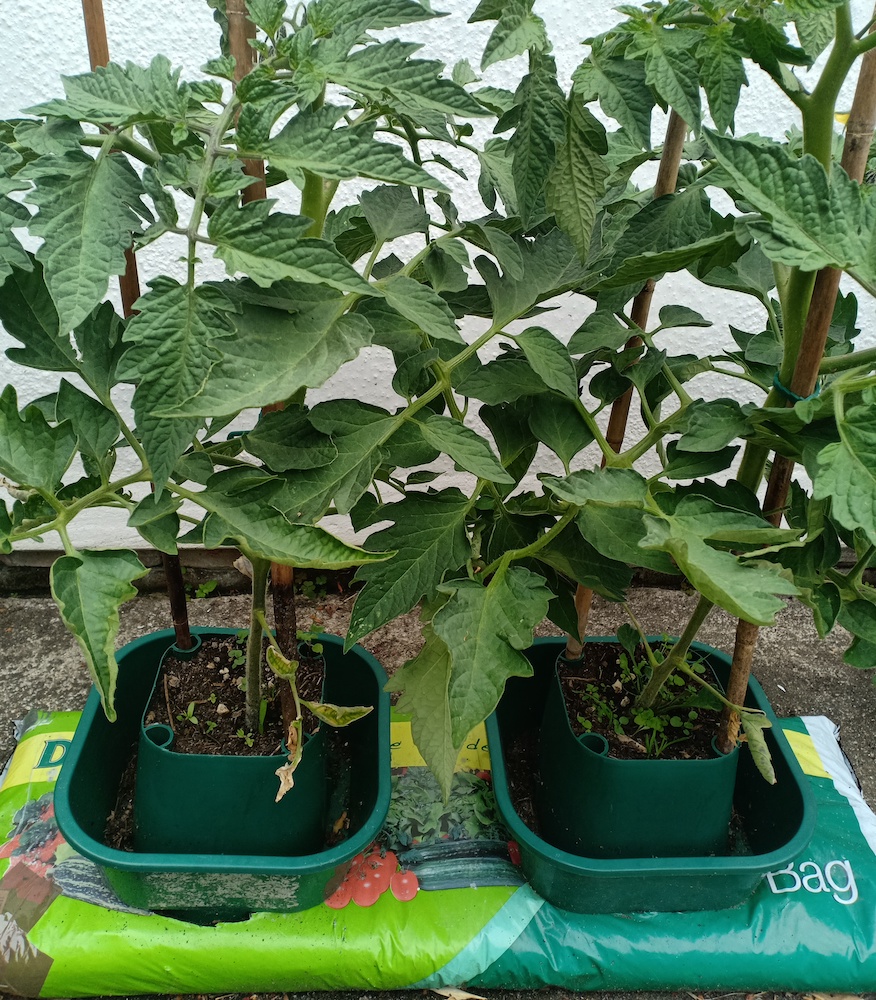
Pros
- Easy to use
- Reduced water wastage
- Strong
- Stackable for storage
Cons
- Doesn't appear to be made from recycled plastic
I’ve used the Selections Tomato Growbag Pots for four years now, so I have some experience with them. Each year I grow lots of different tomato seeds to make sure I get lots of healthy plants to select the best from. Each year I tend to be a soft touch and not want to throw any away! At least this year I did give away quite a few by setting up a “free plants” stall at the front of my house.
Drawbacks of Growbags
I grow them mostly for my greenhouse, but I always have a few growbags set up to add extra capacity. Whilst this is a great way to grow extra tomato plants and other vegetables, they do have a few problems:
- The plants don’t have too far down to send their roots, they mostly go sideways. This means they can be vulnerable to wind and becoming top-heavy.
- There’s not a big depth of soil to push bamboo canes in for extra support.
- They don’t have huge capacity for water storage, so have to be regularly watered.
I forget how I found out about growbag pots. It may have been from watching Beechgrove Garden, a lovely gardening program from Scotland. However it was, I did some research and found some on Amazon that were well rated, so I thought I’d give them a go. I plumped for a set of 6, which would be sufficient for 2 large growbags.
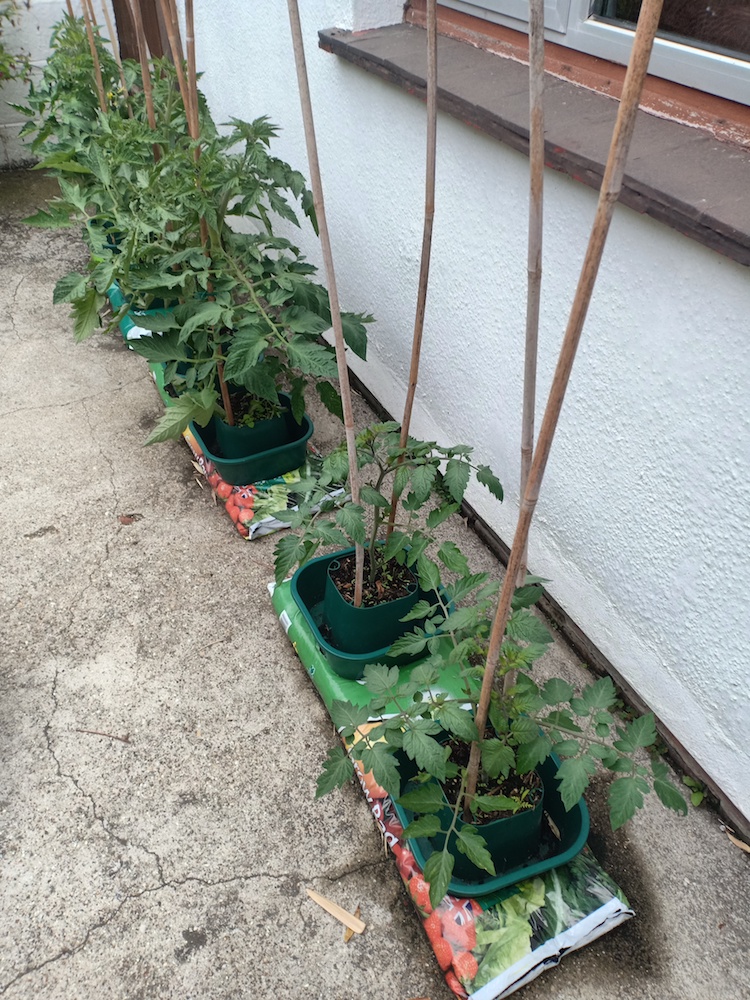
Because of the Covid-19 lockdown here in the UK (I’m writing this mid-2020), I’ve not been able to get out to get some large growbags. This meant that I would need to use smaller growbags with just 2 pots in each. The doorstep milk delivery company I use came up trumps – delivering 3 small growbags quite quickly.
Please note that I took these photos 3-4 weeks after setting the plants up, so I don’t have step-by-step photos during the setup. I’ll try and remember to add those in next year!
Setting up the Pots
The first stage of setting the pots up is to position your growbags and break up the compacted soil in them. I did this by dropping them on their side a few times, being careful not to rip the bag. Jiggle them around to break it all up, meaning the roots will be able to get through the soil easily, as will the water.
Next, place the pots on top of the growbag where you want the tomato plants to be. Make sure they’re spaced evenly, not right at the end of the growbag.
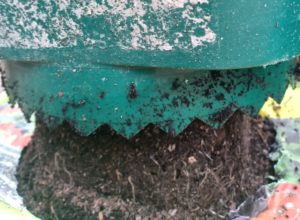
You’ll see that there are large teeth at the bottom of the pot. Rotate the pot clockwise & anti-clockwise, pressing on the plastic of the growbag. This will shear away a circle of the plastic bag which can be disposed of. Then push the pot down firmly onto the newly-created hole.
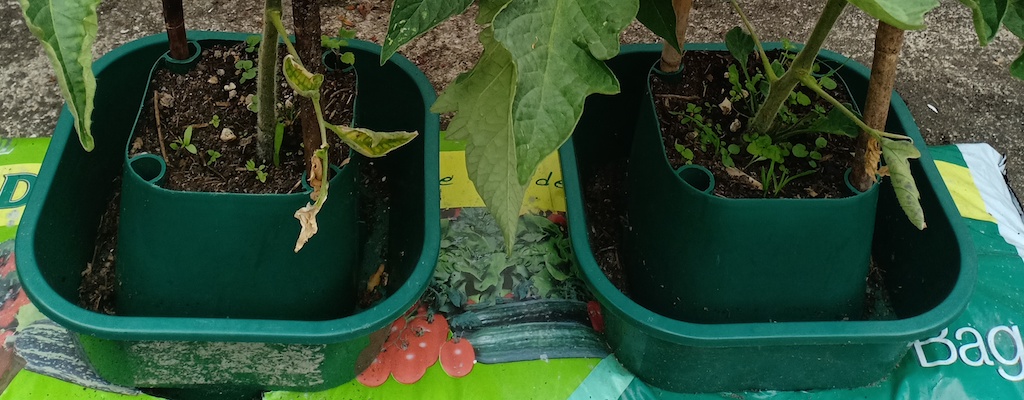
Next you need to fill the pot with compost, right up to near the top of the pot. I used home-made compost, which is why you can see quite a few extra plants growing in the photos. I have to regularly remove these to stop them competing for nutrients and water.
If you used shop-bought compost it will have been treated to remove the majority of seeds. They do this by allowing it to naturally decompose and reach temperatures of up to 75 °C, which kills the weed seeds.
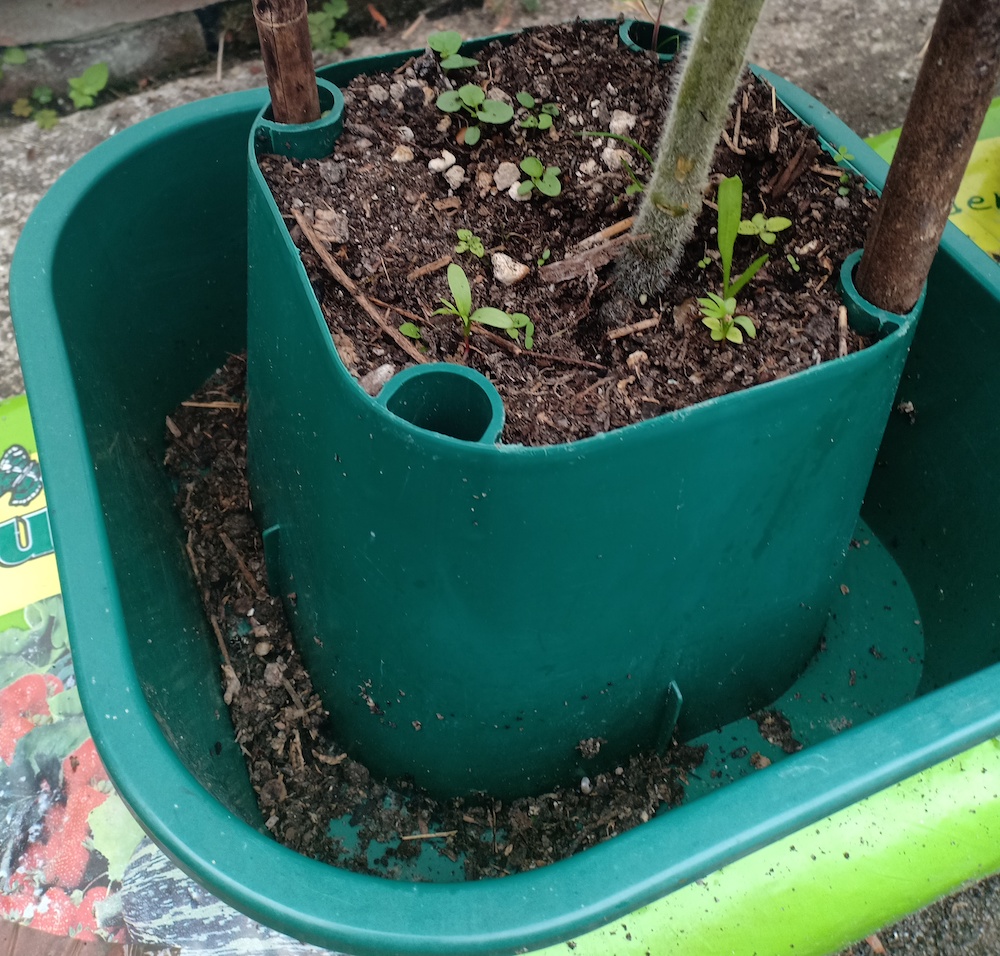
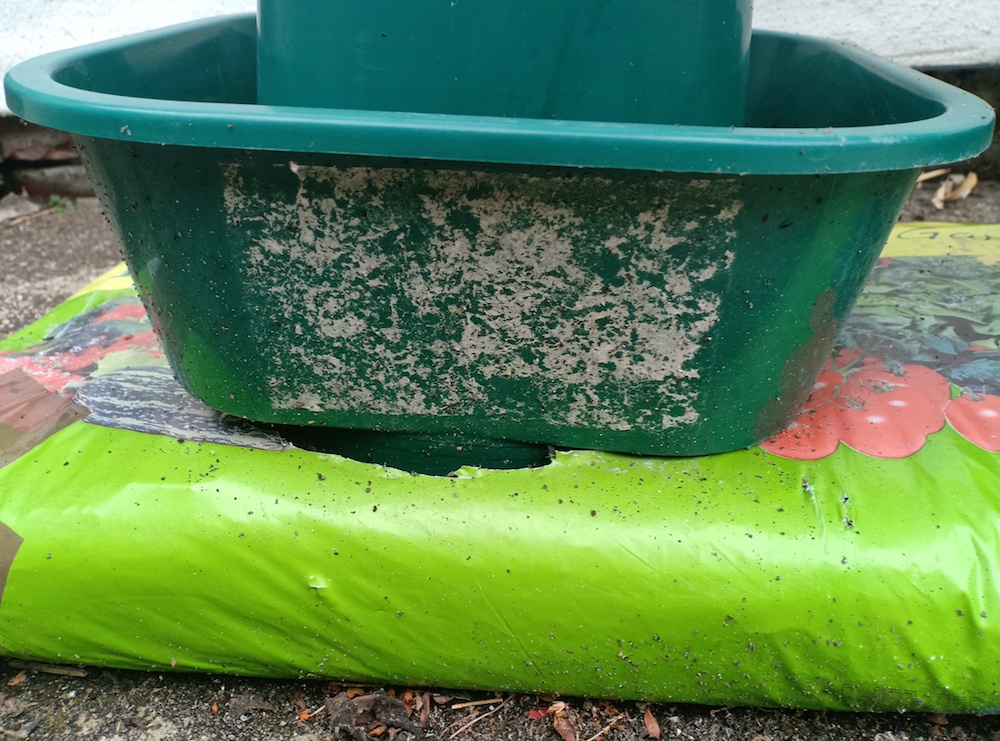
In the photo above you can get an idea as to how much extra height of growing space you get, compared to the compost of a standard growbag. They are 18cm high from top to bottom.
Planting the Tomato Plants
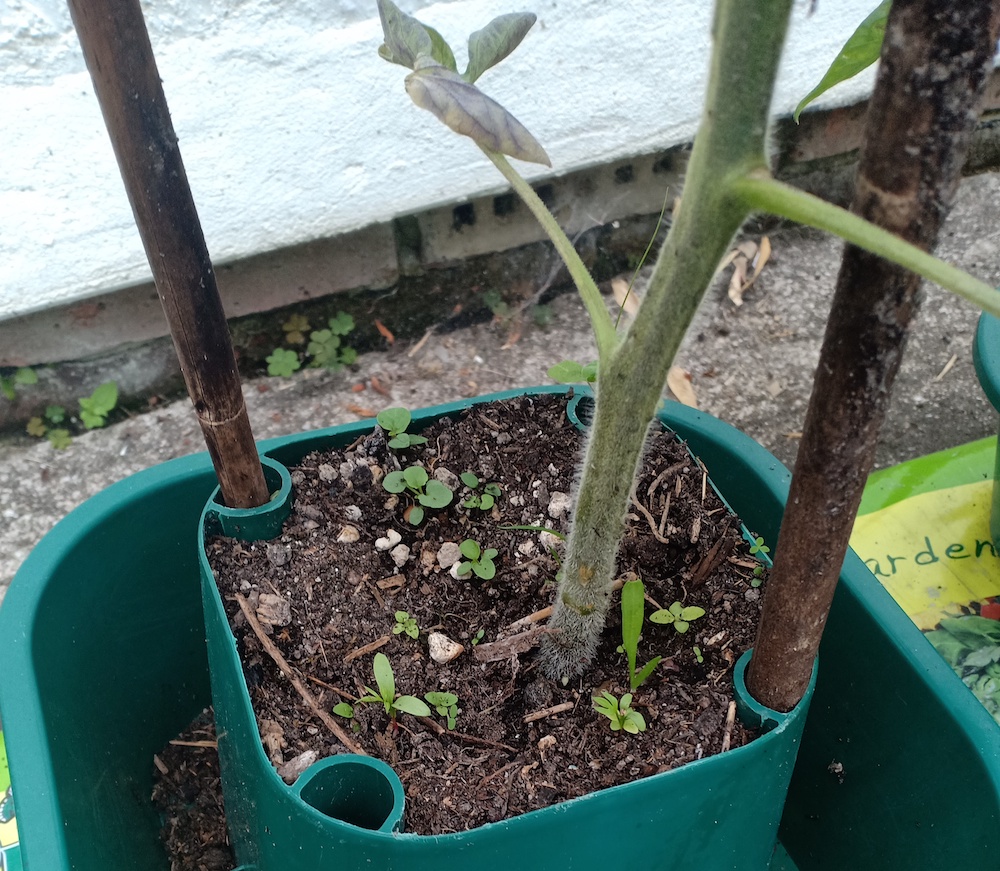
Carefully plant your plant into the compost. Tomato plants have a great ability to send out roots from the stem if you plant some of the stem under soil level. This will help it take up extra water and nutrients, and allow it to anchor in position better.
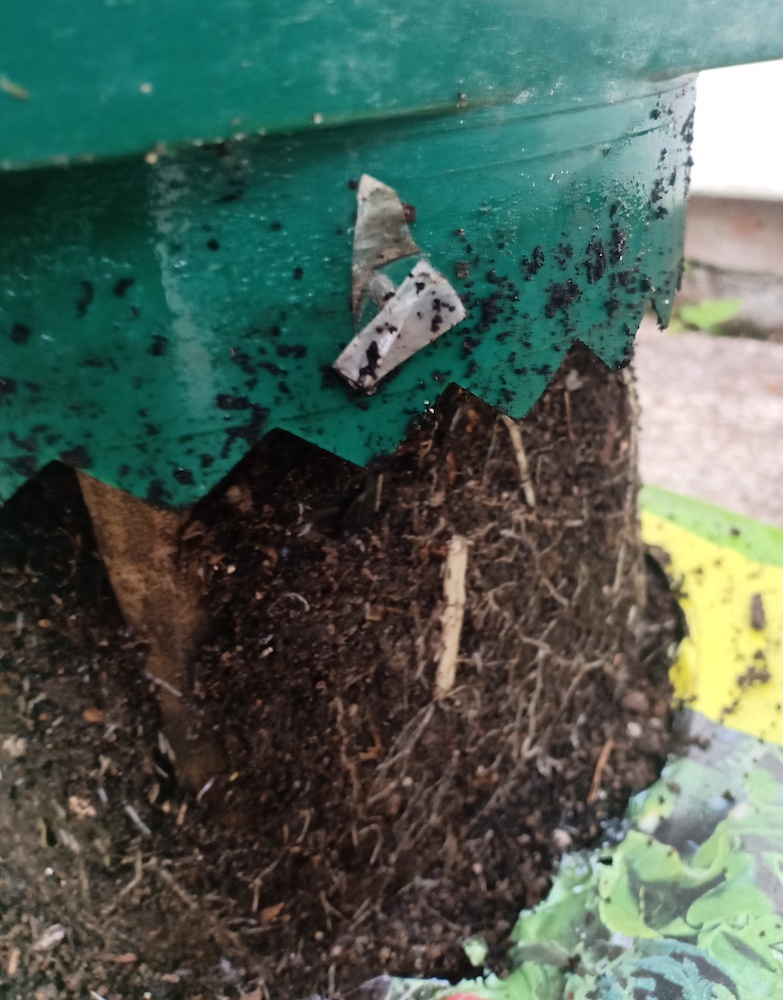
From this photo above you can see what the roots start to look like within the pot, after growing for a few weeks. The extra depth of soil provided by the pot means the roots have more room to search down into the growbag. This means they have more stability, more room to grow unhindered, more opportunity to bring in nutrients and water.
Support from Canes
Next you can add bamboo canes into any of the handy holes provided in the corners of the pot. I chose to add two for each of mine. I’ve used just one in the past, but found that as the plants grew I needed extra supporters to tie them to.
Push the canes gently down until they reach the bottom of the growbag and can go no further. These will really help stabilise the plants, and support the extra strain put on the them when their fruits start to swell.
Watering the Plants
Initially you’ll need to water just the top area where you’ve planted the tomato plants. This will help hydrate the plants, and encourage the roots to grow downwards.
Once the plant has grown for a couple of weeks, they’ll also have made great progress with their root development. These tomato growbag pots have reservoirs around the main plant area, allowing you to fill them up with water.
There are holes around the bottom of the reservoir, and from here the water will slowly seep into the growbag below. This means you get a slow release of the water into the growbag, rather than a large flow that could remove nutrients and compost.
As the plant becomes fully grown, I mostly water into the reservoir. But I still do add some on top occasionally, to ensure it remains moist.

Summary
These Selections Tomato & Vegetable Growbag Pots are extremely effective. They:
- Allow me to provide extra support for the plants themselves.
- Give extra support for branches heavy with developing fruits.
- Provide an easier way of watering through the large reservoir.
I’ve used these successfully for several seasons now. After use I clean them, and store them away in my shed. The six pots stack one inside each other and come with a couple of yellow clips that enable you to clip them all together.
I thoroughly recommend them. I’m considering adding to my collection so that I can grow even more plants next year! You can buy them in sets of three as well, but it’s much better value to go for a set of six growbag pots.
If you’re into gardening you may also like to read my review of the Palram Greenhouse Trellising Kit or the Palram Heavy Duty Greenhouse Shelf Kit.
Guy Goes Green
If you found this growbag pot review useful, you may like to subscribe to my YouTube Channel, Guy Goes Green.
Like most people, I’m not perfect, so I’m trying to change my life to make less of an impact on the earth. One small step at a time. This includes lots of garden hints, tips and insights, as I find ways to be more self-sufficient. What works? What doesn’t? I’ll share my experience, to help you make informed choices for yourself. Subscribe now, and come join me on the journey!
Watch now at Guy Goes Green.