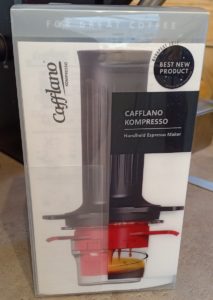
Cafflano Kompresso Handheld Espresso Maker
£65
Pros
- Easy to use
- Close to coffeeshop flavour
- Great when travelling
Cons
- Couldn't get crema
- Embossing on tamper
- Measurements hard to see on chamber
- Seal around filter
Here I review the Cafflano Kompresso Handheld Espresso Maker, a recent addition to my morning routine.
I do love a good coffee, and until recently I used a Bodum pour over coffee maker with a permanent filter. I’ve used it for a couple of years, but I was growing increasingly frustrated with a couple of points:
- How variable the strength was, if I didn’t accurately measure the water being poured through
- How long it took me to produce a batch of coffee in the morning – circa 30 minutes.
I did investigate various automatic and non-automatic espresso machines, including bean to cup variations. However, I wasn’t keen on adding yet another big machine into my kitchen, so I kept searching. I stumbled upon the Cafflano Kompresso Handheld Espresso Maker and decided to give it a go.
It wasn’t a cheap option, it has to be said, but I liked the idea of the coffee maker, and thought it would produce the kind of coffee I was after.
It also looked like it was a fair bit quicker to produce a cup of coffee, although it has to be said, with the Bodum I did make a batch of coffee for the morning, rather than just one cup.
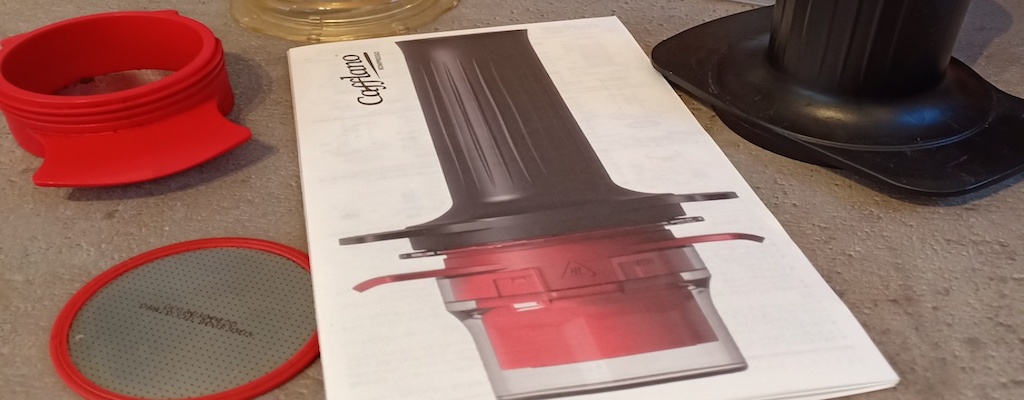
What’s in the box?
The product was well packaged, and comes with quite a few bits and pieces, including:
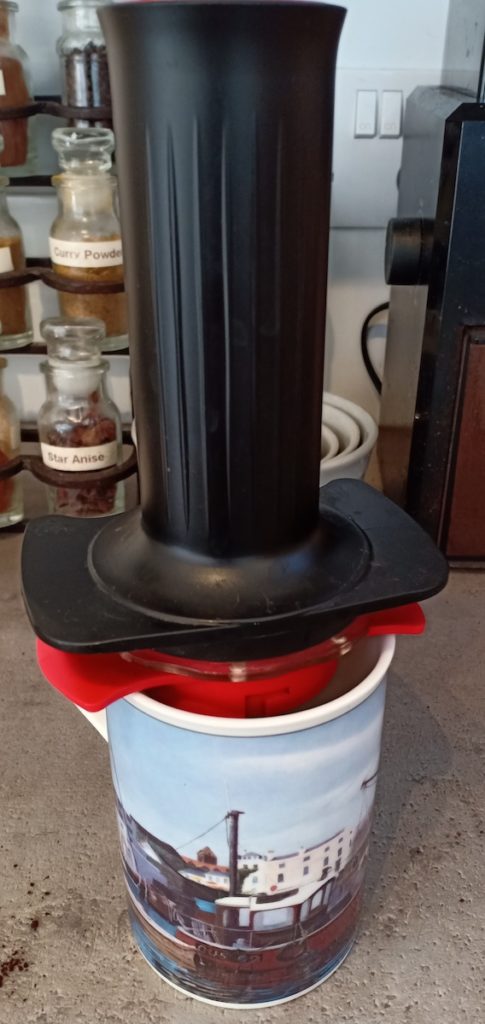
- Piston (Black outer, with red plunger within)
- Chamber. See-through, holding up to 70ml water
- Filter. Metal, with a flexible ring around the edge
- Filter basket, holding up to 15g coffee grinds
- Tamping scoop
- Cup (which I forgot to include in photos, sorry!)
- Instructions. In a number of different languages

The Cafflano Kompresso is a very lightweight (175g) and compact hand-held espresso maker, making it very portable and ideal to take with you on trips away. It works using hydraulic compression to amplify the extraction force (Pascal’s Principle). This means a consistent pressure of over 9 bars can be achieved. This is compatible with professional machines which use 10 bars to achieve their extraction.
Personally, I haven’t been able to achieve a crema using the Cafflano Kompresso, but I have achieved a consistently tasty brew. The crema is the reddish-brown froth that sits on top of an espresso shot. It adds to the flavour and aroma of an espresso shot. Whilst it would have been ideal to achieve the crema as well, I’ve still been very satisfied with the results.
How to use the Cafflano Kompresso
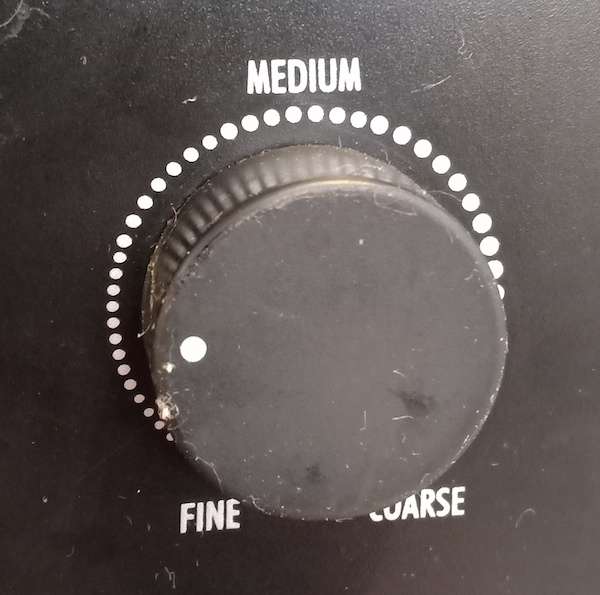
Firstly, you need to have a fine grind for your coffee powder.
I use a burr grinder to produce a consistent grind, but you can of course buy suitably ground coffee to use for espresso.
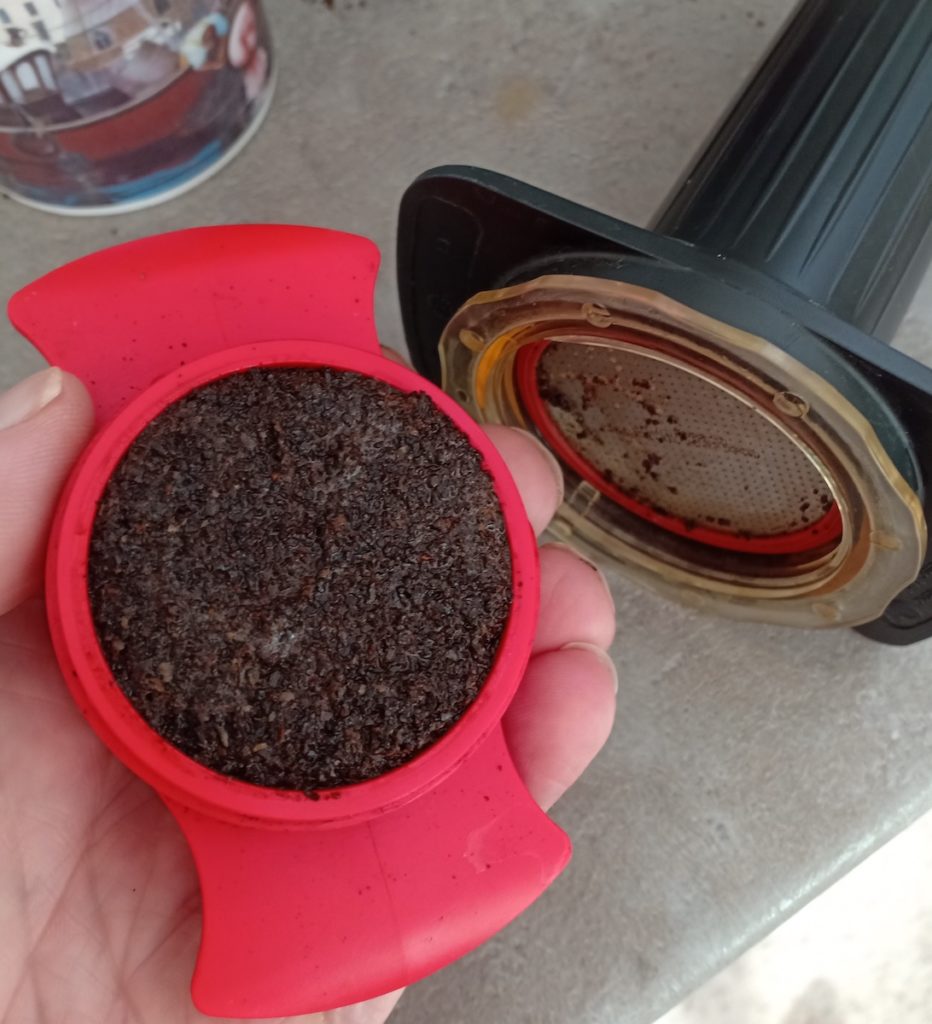
The kit comes with a scoop for your coffee, to fill up the filter basket. The scoop doubles as a tamper to press the powder and compact it down.
Personally, I use a funnel to add my powder into the filter basket. I find it makes less mess and waste.
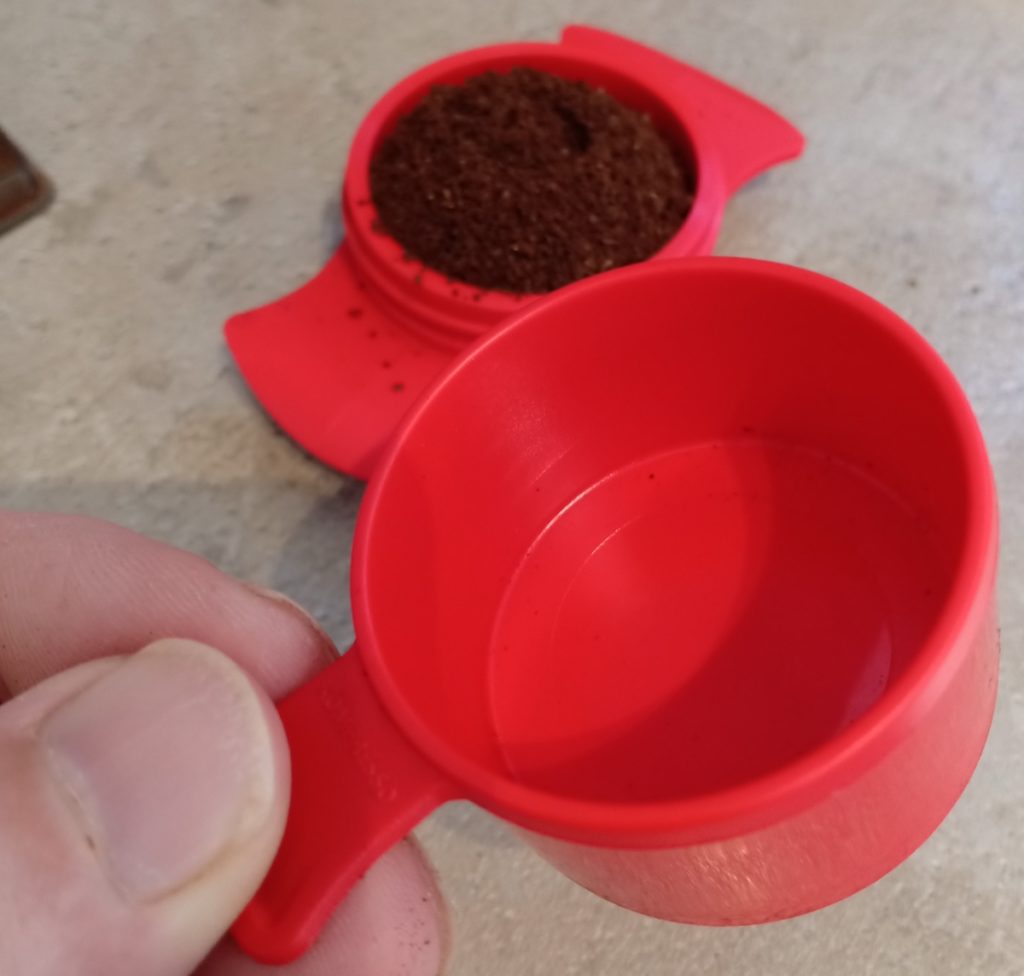
Tamping

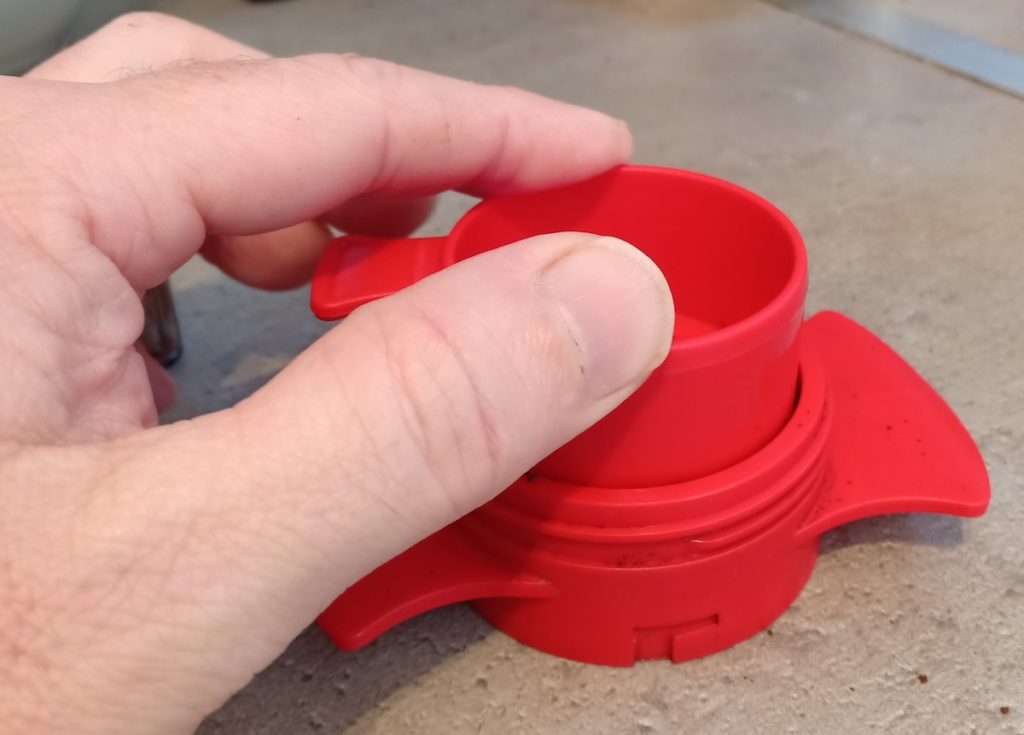
Tamp the coffee grind down, applying a medium amount of pressure. Then top up with more grind and tamp again, until you’ve filled almost to the top of the filter basket. It holds about 15g of coffee in total. Of course, if you’d prefer less powder, you can reduce it.
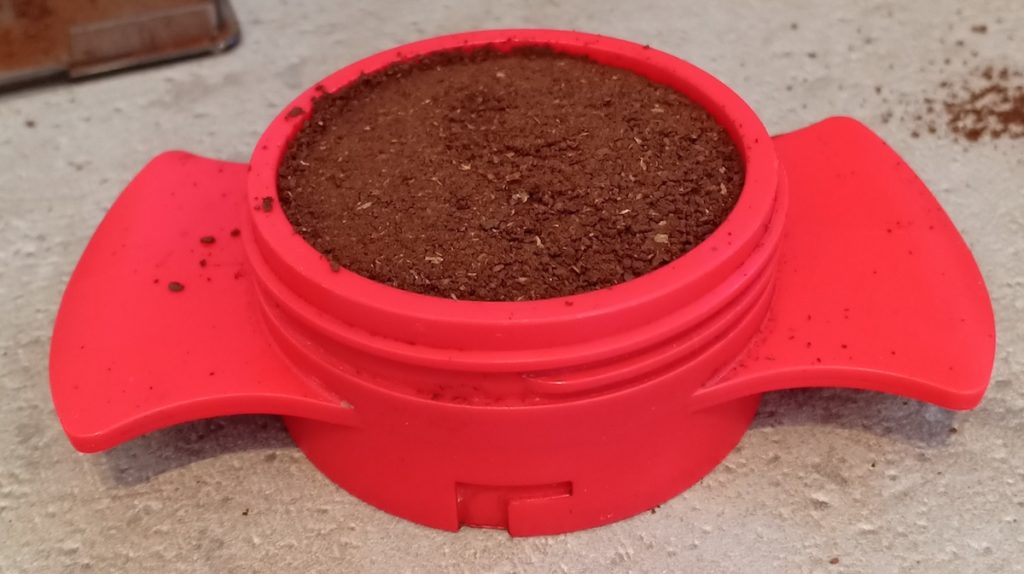
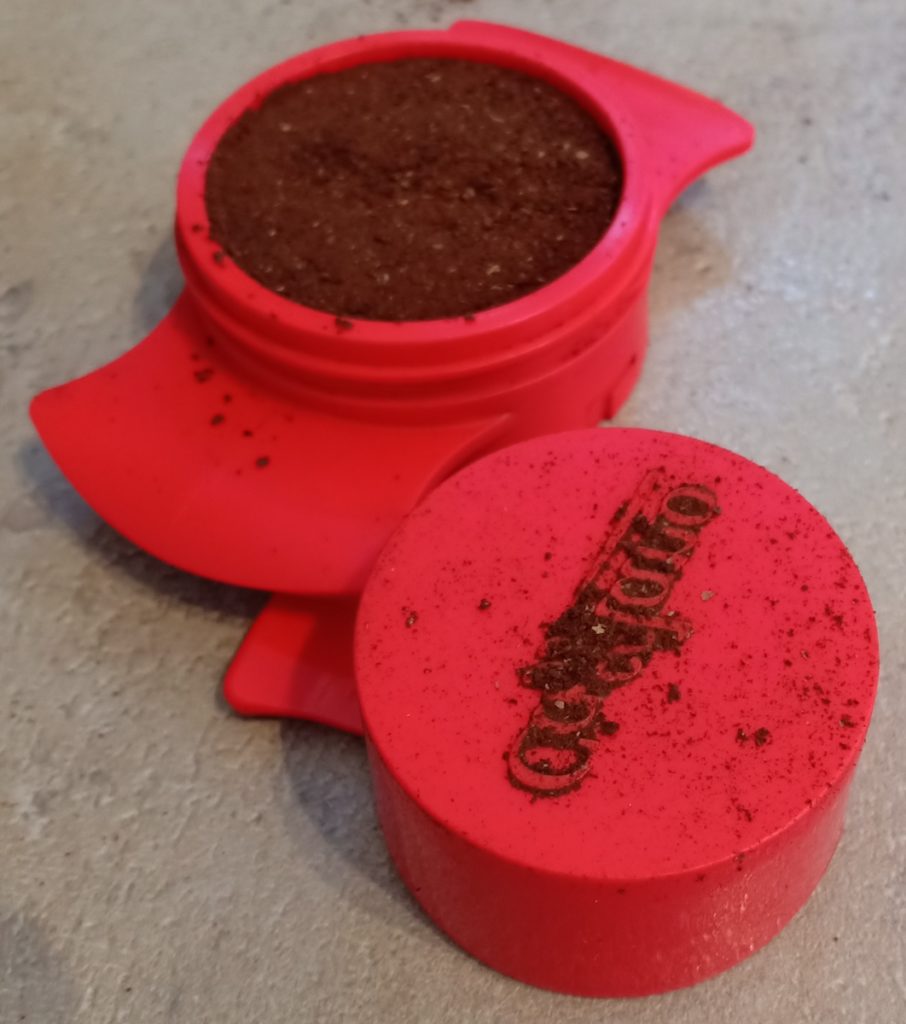
One issue I have with the tamper is that it has the brand name embossed on it.
This is probably to achieve a swanky (if pointless) brand name embedded in the tamped coffee powder.
However, it gets powder sticking to it and causing mess when placed on a kitchen counter top.
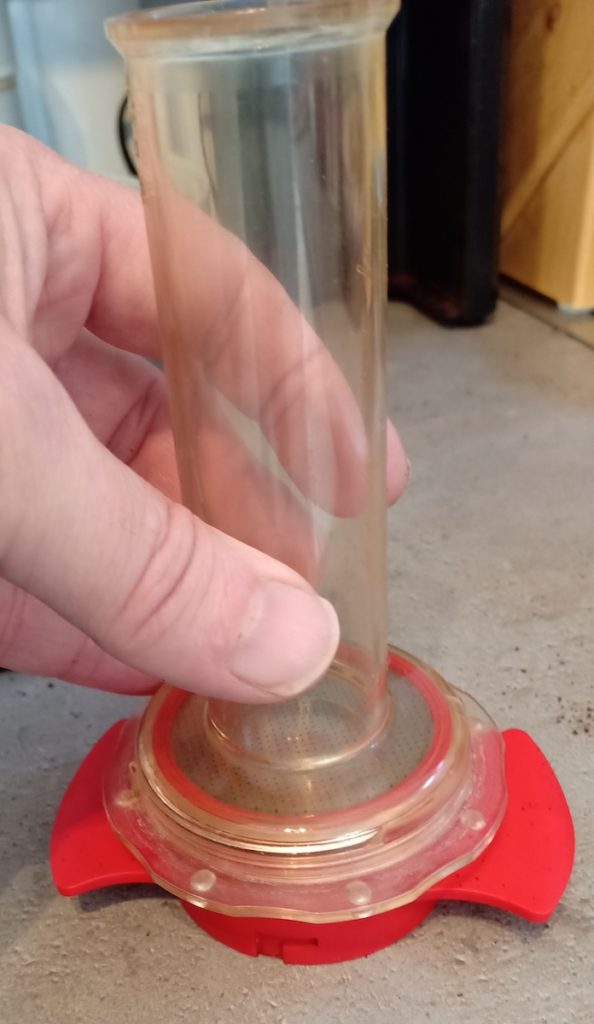
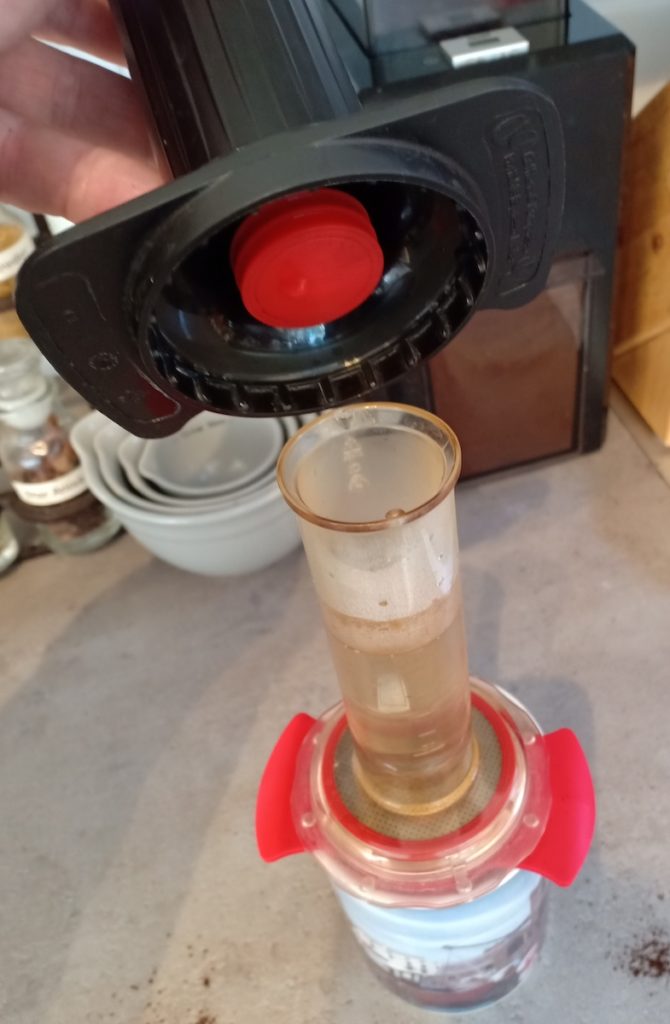
Adding the filter

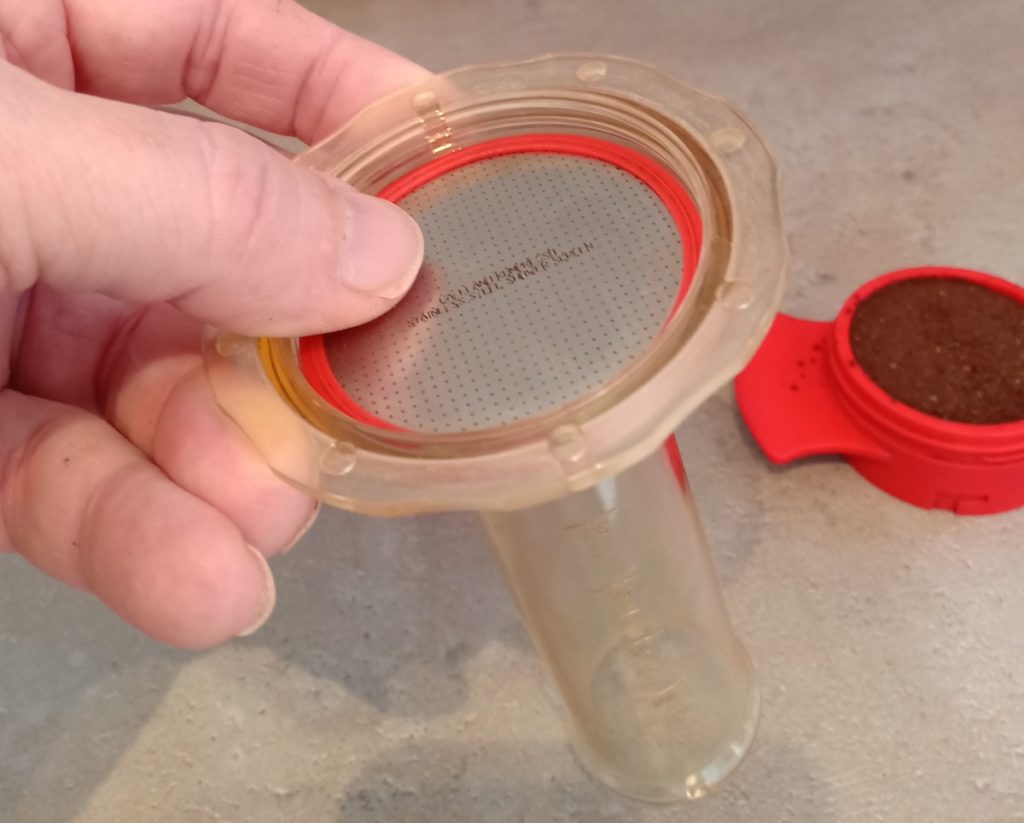
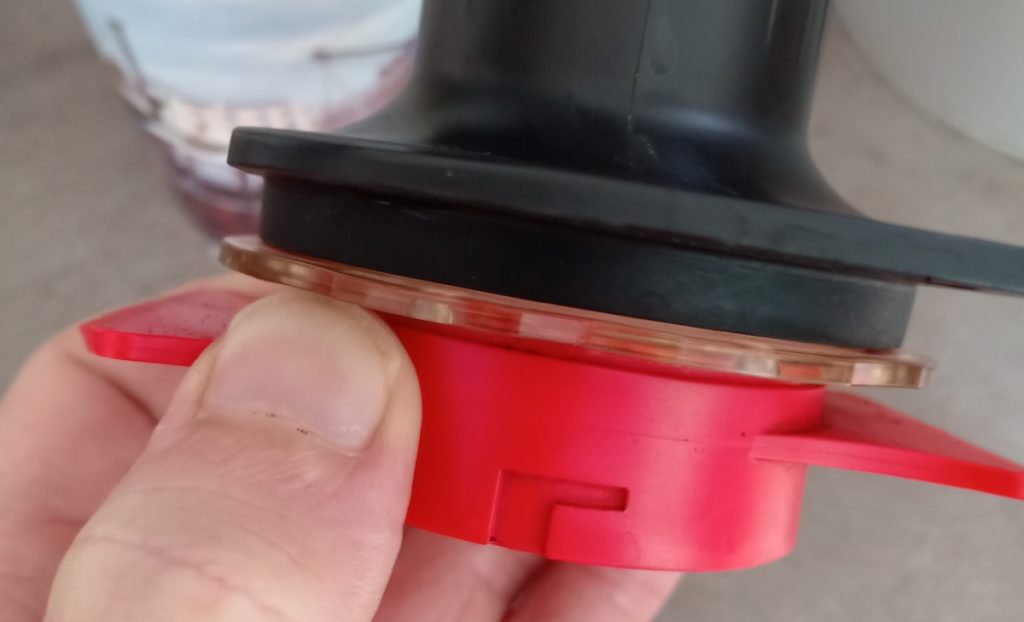
The next step is to add the metal filter, with flexible surround, into the end of the see-through chamber. This will sit above the filter basket, and carry the water into the chamber below.
Make sure it sits snugly, then screw the chamber onto the filter basket. Make sure you don’t cross-thread it, and screw it on gently.
I’d suggest not over-tightening it. Just hand-tight will be sufficient. I’ve been known to be heavy-handed in the past, and I’d hate to break the chamber by over-tightening.
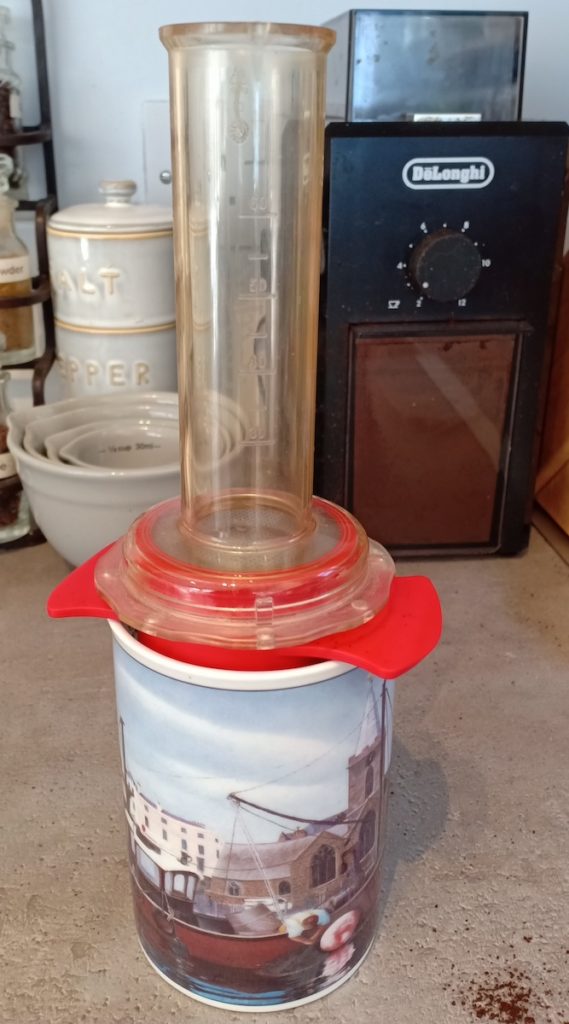
It comes with a cup. Honestly!
The Cafflano Kompresso does come with a see-through cup, which sits underneath the filter chamber.
Apologies, but I forgot to include that in my photos! The reason being, is that I’ve tucked it away in my cupboard, because I don’t use it.
I sit my filter basket directly on my mug, so don’t need the cup that came with the kit. It would waste a little of that lovely espresso, transferring it from the supplied cup into my mug.
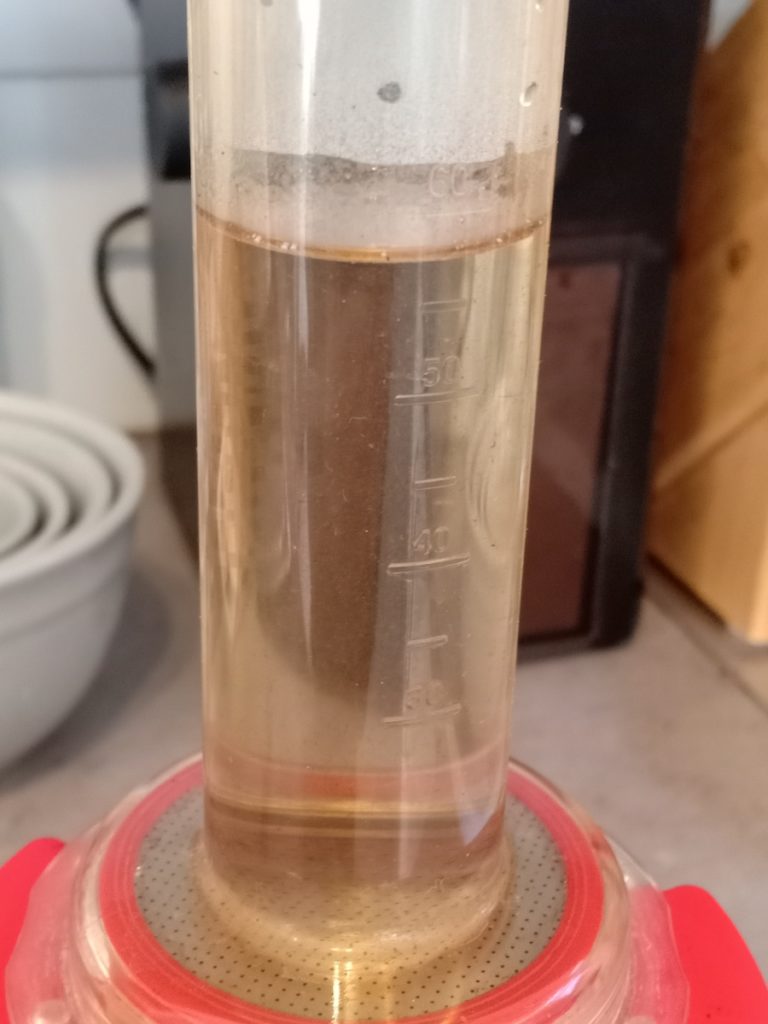
Adding Water
The chamber has measurements on it, for you to add your desired level of water. This will depend on your preferred strength of espresso.
I suggest testing to find your desired strength. Personally, I use 15g of powder and fill to the 60ml line. This gives me my style of coffee.
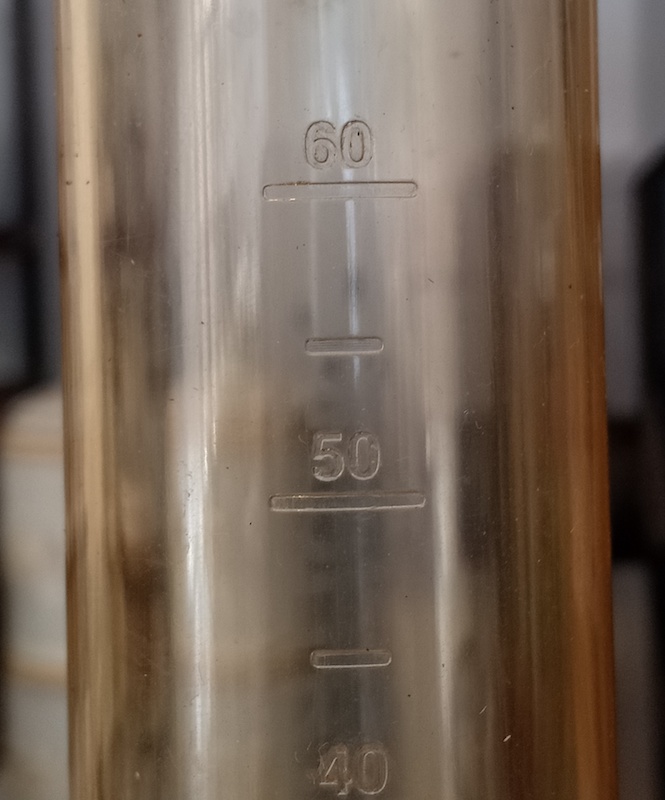
One bugbear is that the writing can be hard to read if you don’t have great lighting. I make sure I turn the writing towards me, and lean in close, because of my eyesight.
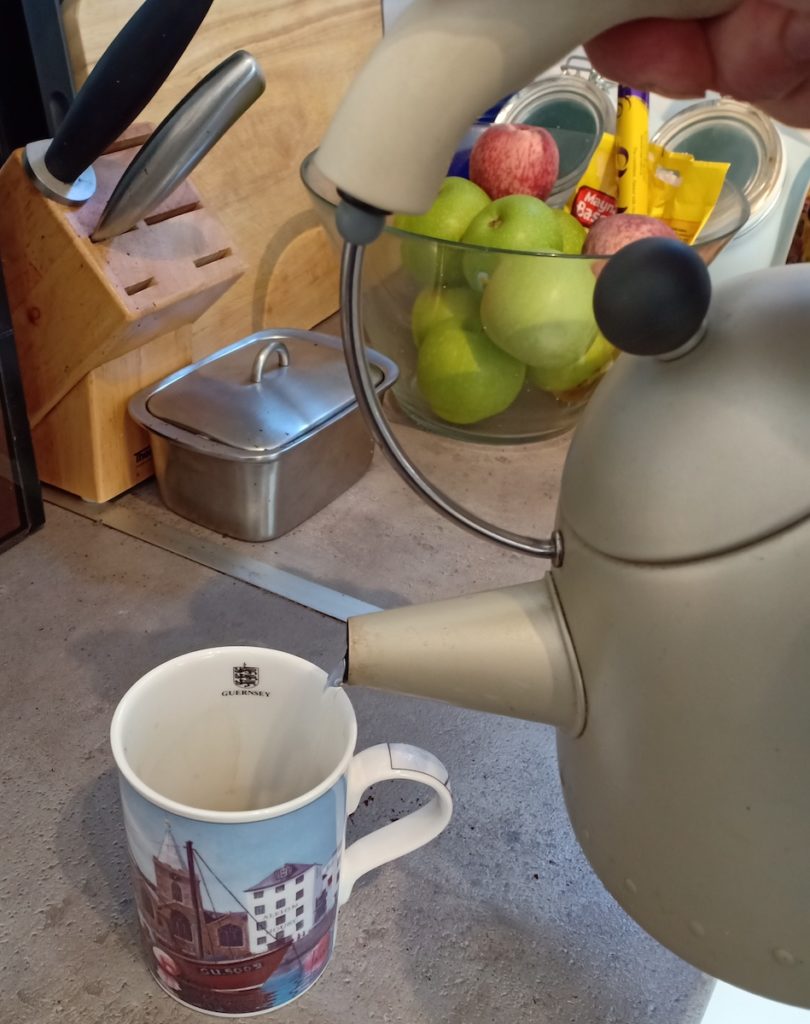
The next step is to take your almost boiled water and fill the chamber to your desired measurement. Apparently to make the best espresso the water should be between 90-96°C, so use it before it reaches boiling point.
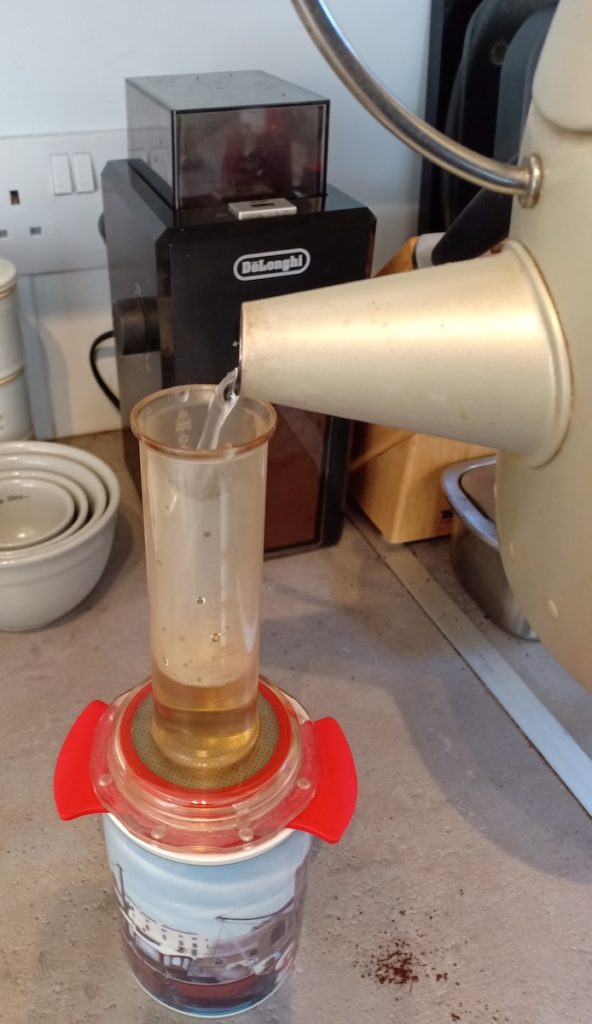
I suggest waiting 10 seconds to allow the water to start filling the filter basket.
Using the Plunger
The next stage is to take the plunger unit and insert the plunger in the chamber, whilst making sure you hold the handle on the filter basket to keep it steady.
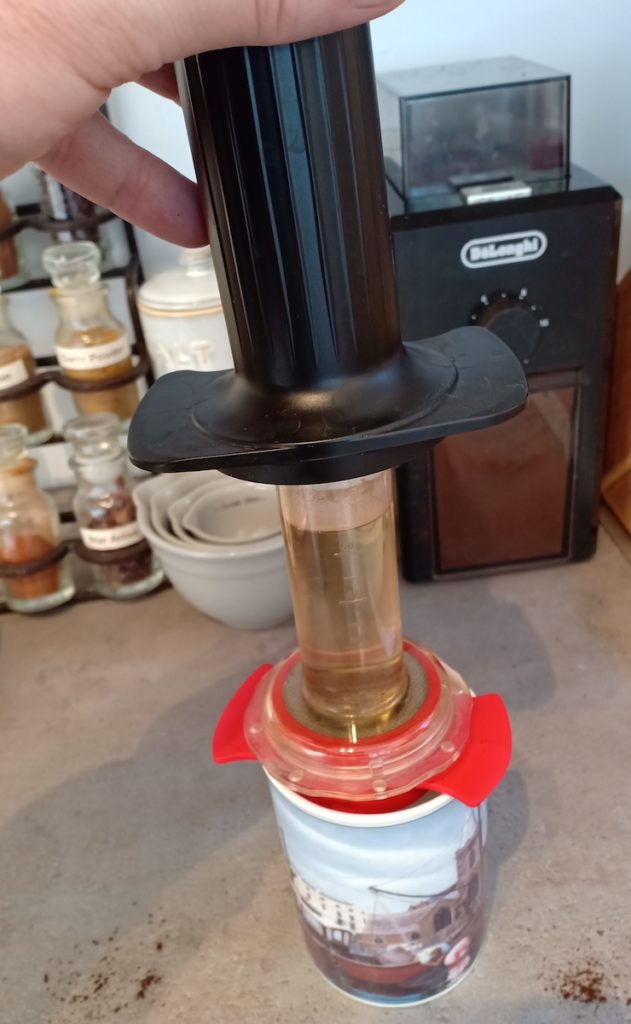
The trick to plunging well is to rest a thumb on a paddle on either side of the plunger, whilst lightly gripping under the paddles on the filter chamber with your fingers.
Then over approximately 20-30 seconds, slowly apply a little pressure through your thumbs to move the plunger down the chamber.
When you can go no further, it’s done!
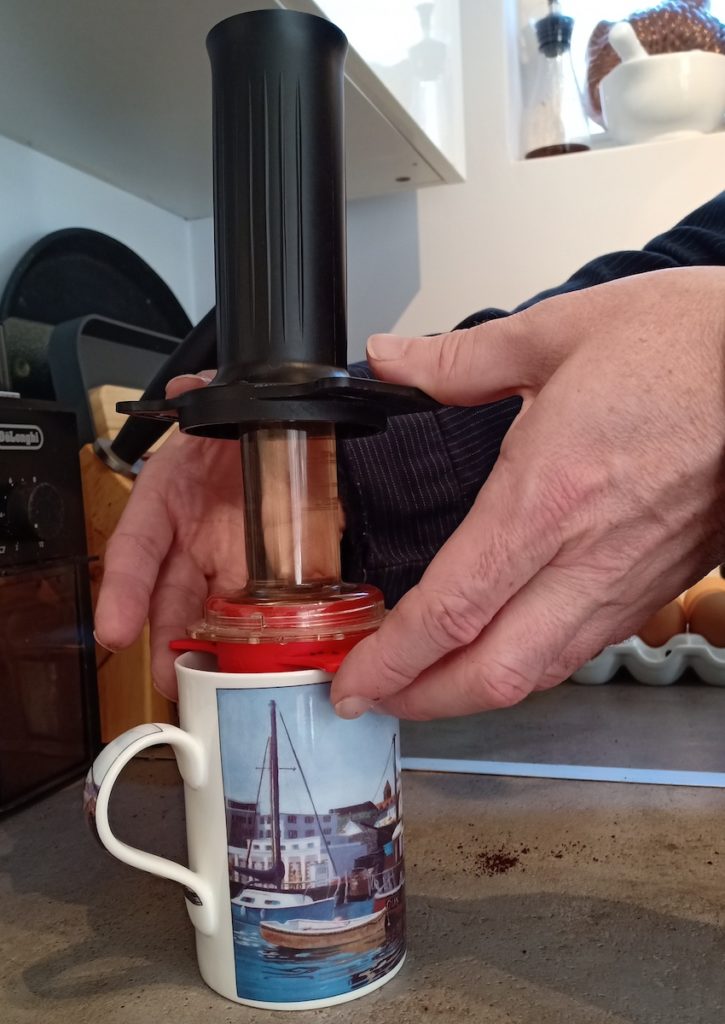
I wait a few minutes to allow all the water to fully drip through – I don’t want to waste any of the brew!
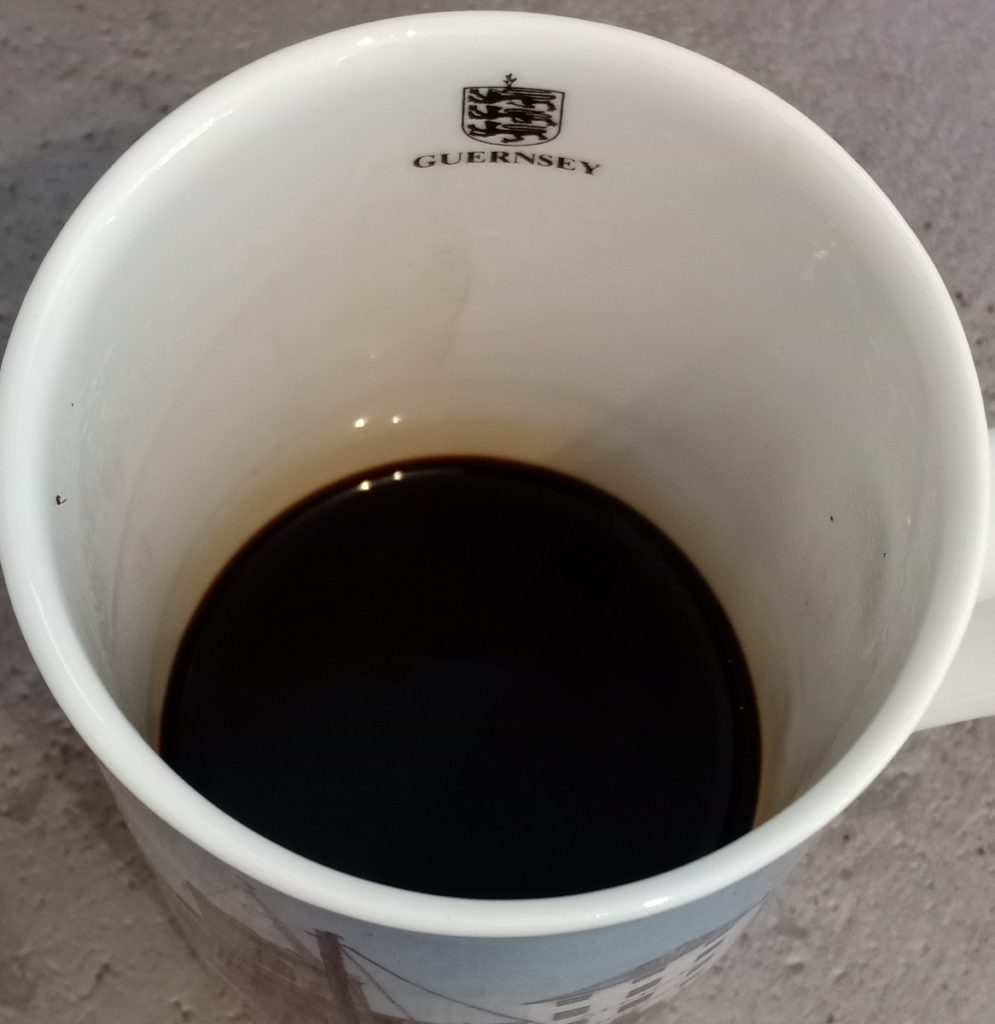
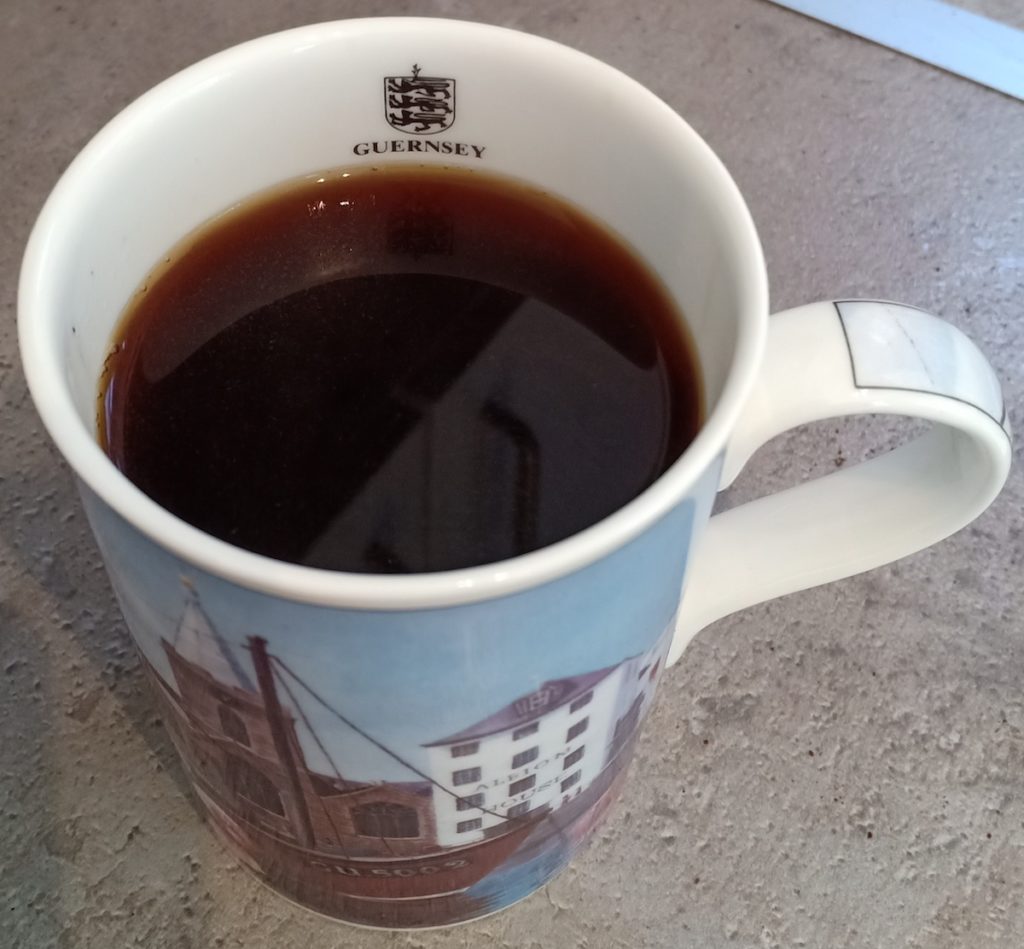
I use my espresso to make a longer Americano drink, by adding hot water. To me, it tastes just like I’d get at any coffee shop I go to. And the smell. Oh my, the smell of a freshly plunged espresso!
From start to finish, it probably takes me about 5 minutes, not allowing for the time to boil the water. This is a small price to pay for a tasty brew!
Cleaning the Cafflano Kompresso
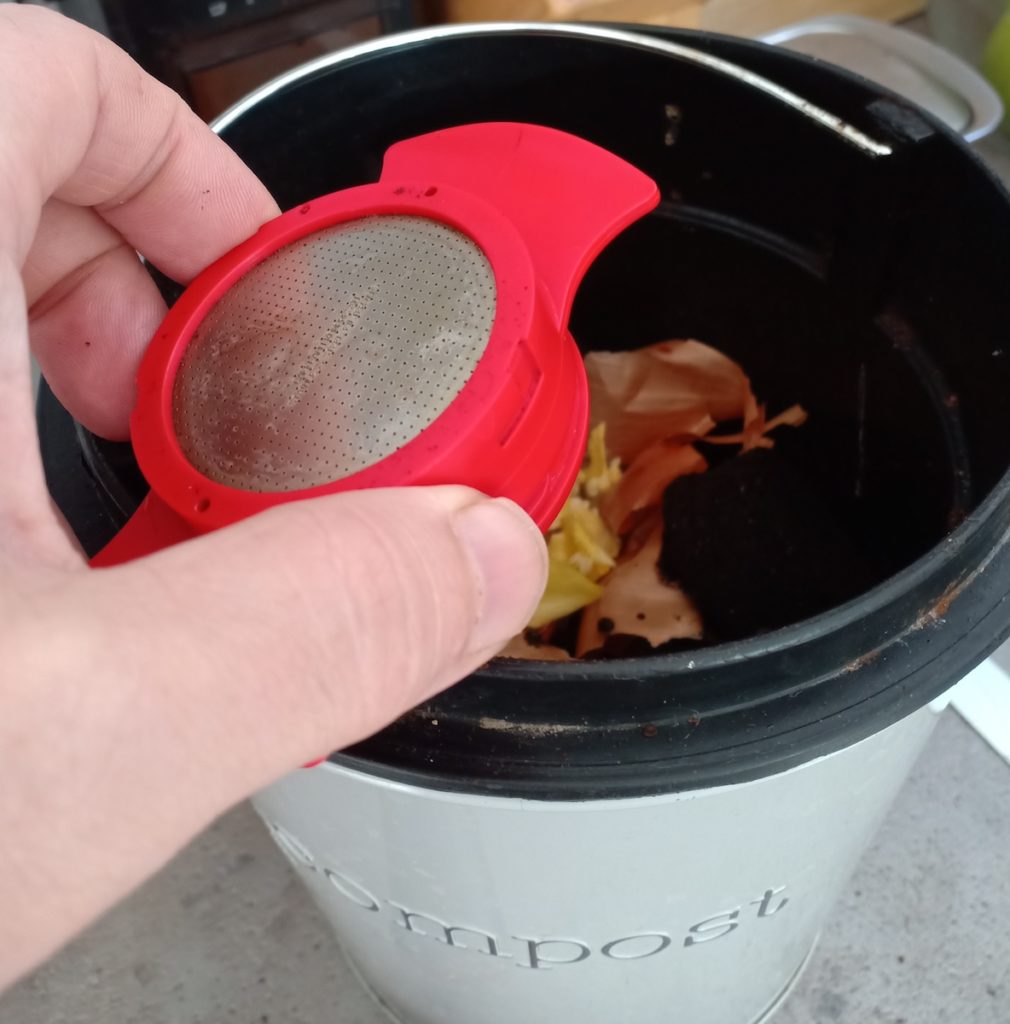
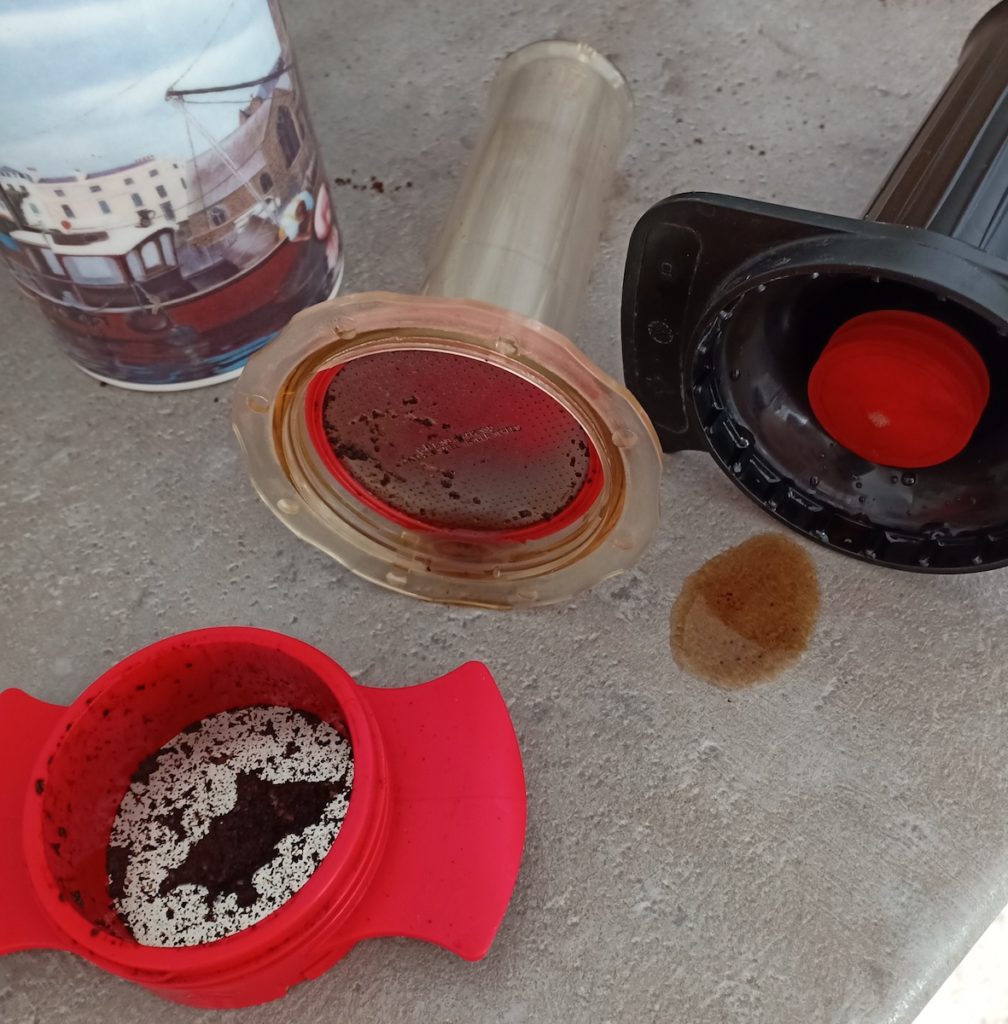
It’s very straightforward to clean the Cafflano Kompresso after use as the parts come apart easily. Unscrew the filter basket, then tip the used grinds out. I store the grinds as they can be added to my compost bin – helping to produce some lovely compost for my garden.
The parts come apart easily and can be rinsed if you’re going to make another cup of espresso soon. Otherwise, wash them for storage.
One bit to look out for – the seal that’s around the filter does like to get unseated if you wash it. It just needs a little wiggling to get it back in place, but it’s something to look out for.
I absolutely love the Cafflano Kompresso handheld espresso maker. It turned out to be a great decision to treat myself to it, in place of the pour over method I’d used before. It’s straightforward to use, and produces an amazing brew. If there was anything I’d change about it, perhaps it could come with a waterproof travel pouch, seeing as one of the selling points is that it’s portable.
I use Lavazza Rossa coffee beans for my espresso, bulk buying Lavazza Rossa 3kg to get best value. The burr grinder I use is a DeLonghi KG79 12-Cup Burr Grinder. If you found this review useful, you may also like the De Longhi Eletta review. It’s a fully automatic bean to cup coffee machine. Plus I’ve reviewed a Tefal Induction Hob if you’re upgrading kitchen appliances.
Guy Goes Green
If you found this review useful, you may like to subscribe to my YouTube Channel, Guy Goes Green.
Like most people, I’m not perfect, so I’m going to try and change my life to make less of an impact on the earth. One small step at a time. Join me as I look at ways I can reduce my impact. What works? What doesn’t? I’ll share my experience, to help you make informed choices for yourself. Subscribe now, and come join me on the journey!
Watch now at Guy Goes Green.