Lay-Z-Spa Miami
£330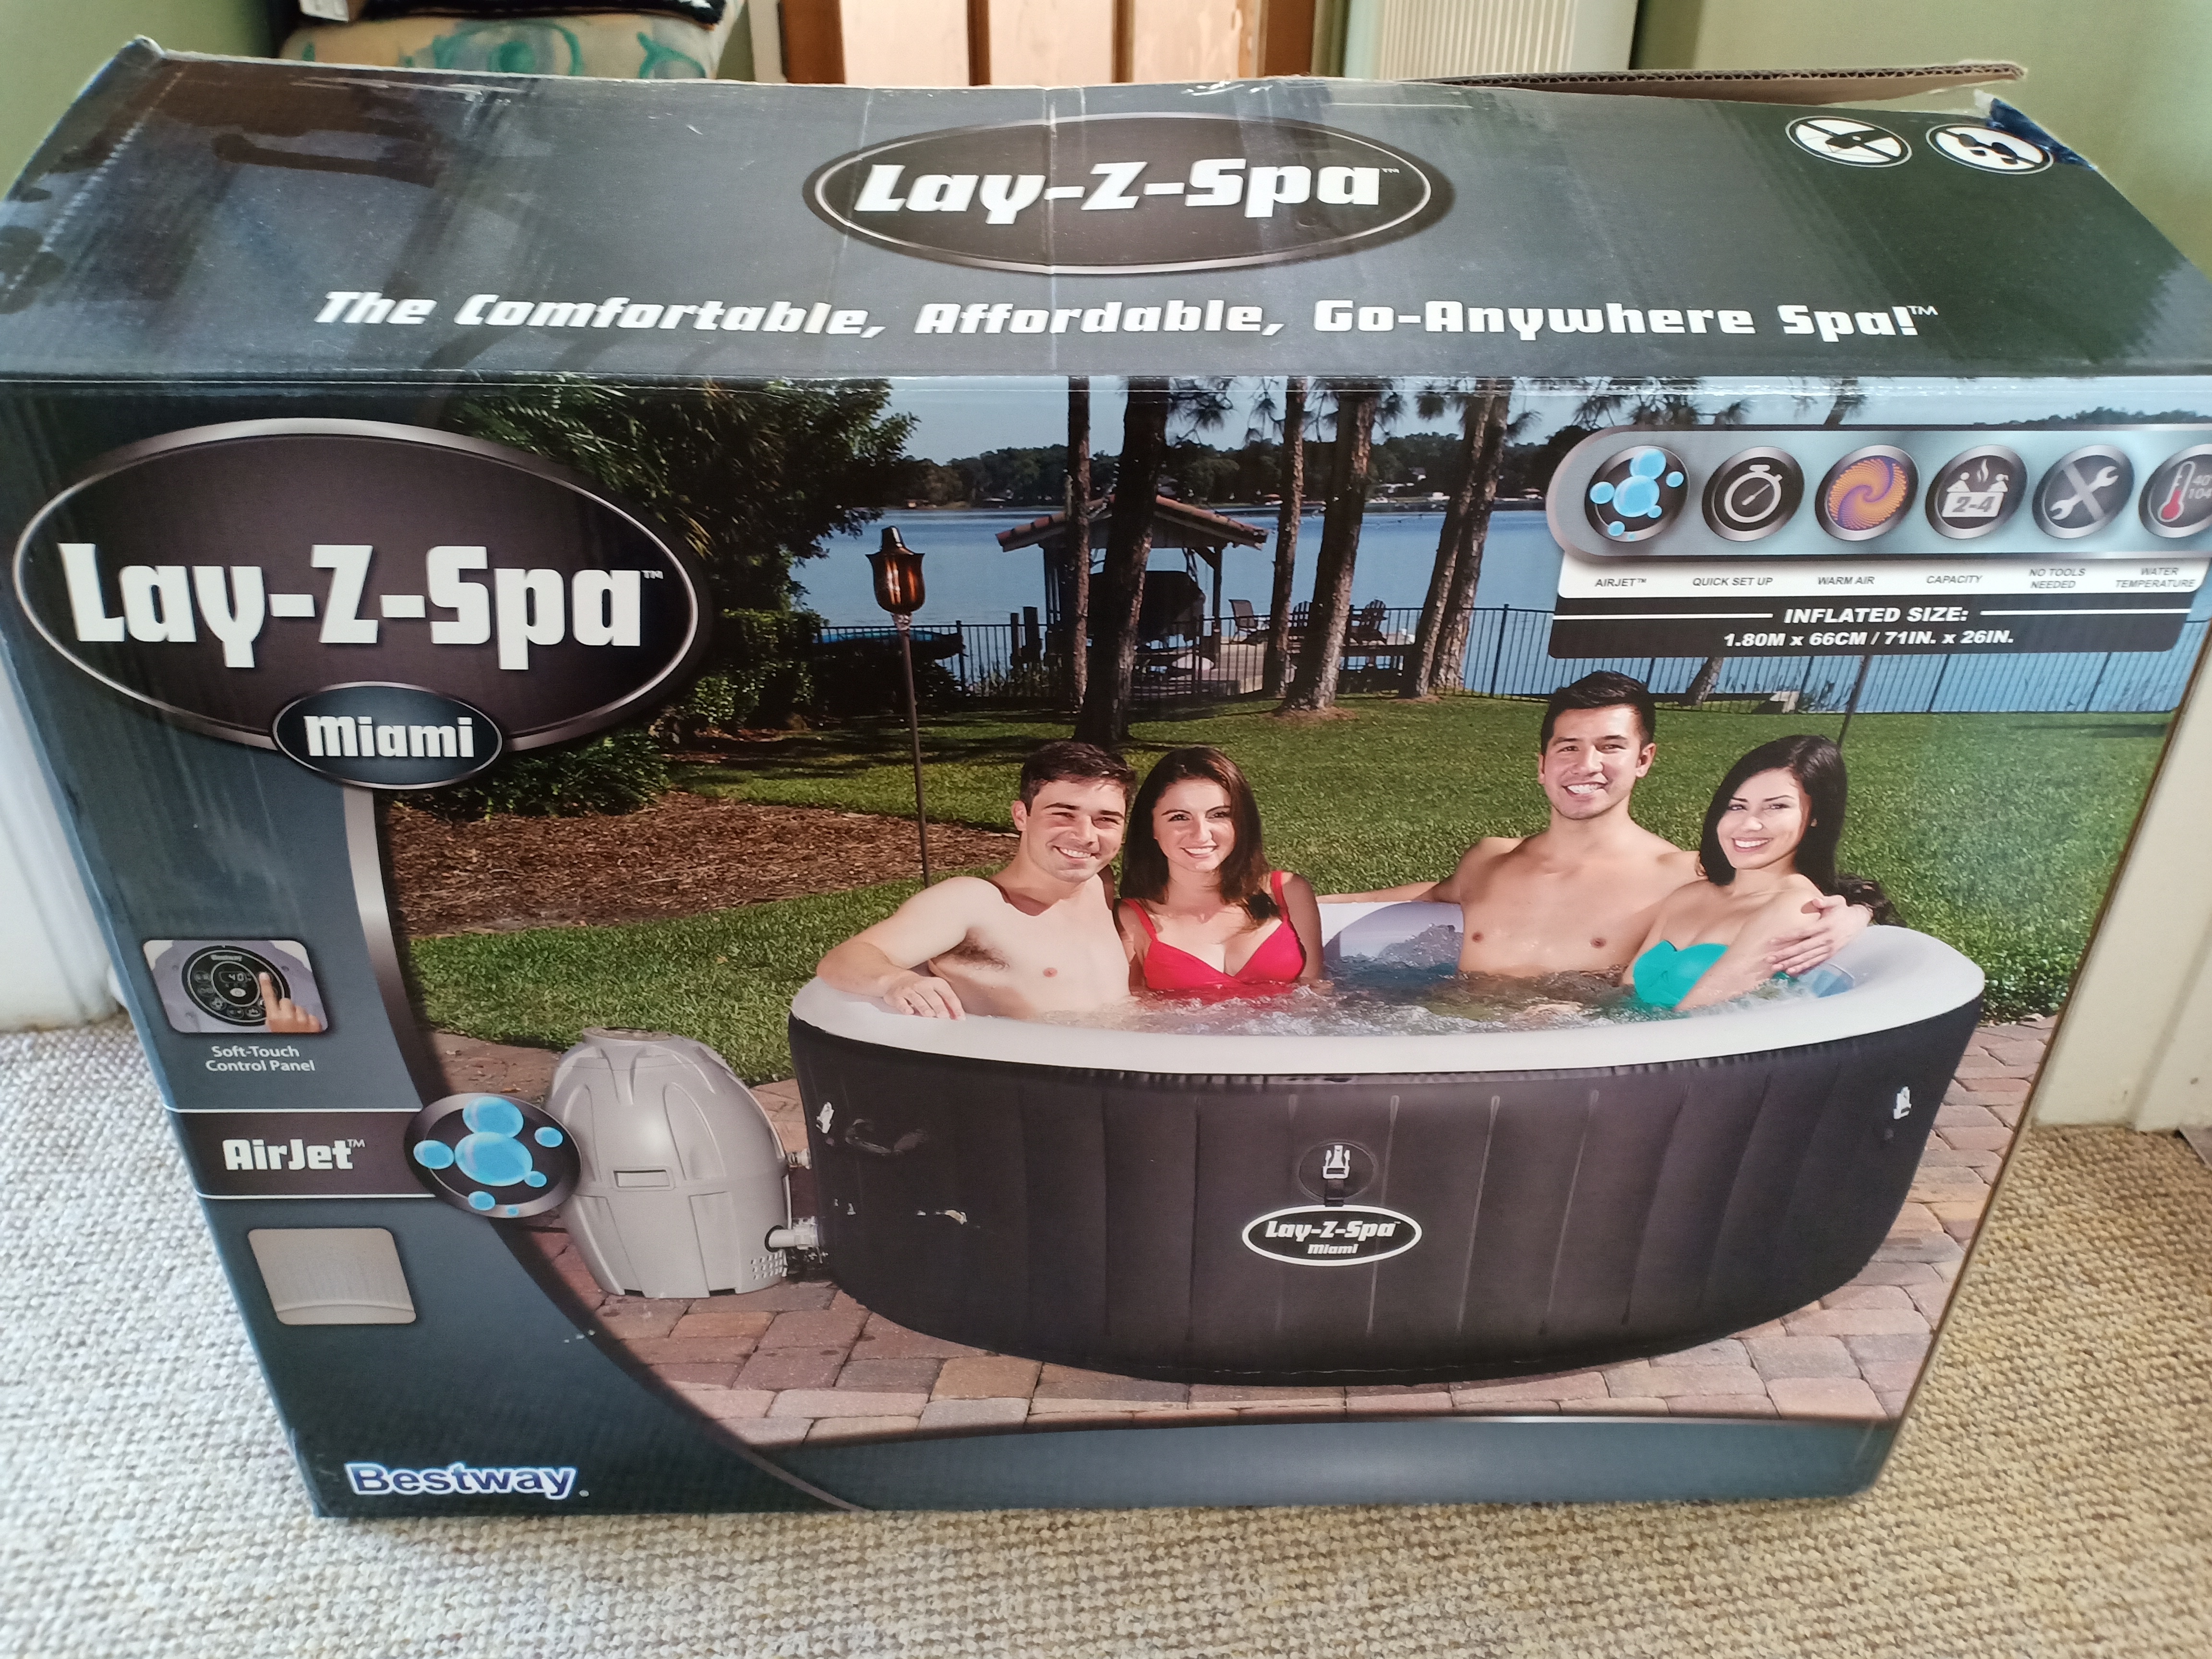
Pros
- Quite easy to set up, but use internet guides rather than official instructions
- Really good spa experience
- Pump is reasonably quiet
- Lower cost than a rigid spa
Cons
- Cost us approximately £1.50 per day electricity
- Bestway repair kit (not included) was hard to use
- Rain water collects on lid and causes sagging

We purchased our Lay-Z-Spa Miami from Amazon, waiting for it to be available on a good deal. As with lots of things on Amazon, the price fluctuates a lot throughout the year, so if you’re not in a hurry it’s well worth adding it to your wish list and keeping an eye on the price.
It was delivered quickly and consists of a rather large, heavy box. Inside the box was:
- A Heater Pump, which filters the water and powers the air jets
- The tub itself, which is rayon coated and has a cushioned floor
- A top cover, again rayon coated
- An inflatable top, which sits inside the top
- Two filter cartridges
- A chemical floater, which we don’t use (I’ll explain later in the article)
- Three repair patches, intended for underwater repairs. You’ll need a different set to repair external punctures
- A hose to connect the pump to blow air into the tub and top to inflate them
- Stoppers to cover the water inlets, when disconnecting the pump
- A filter housing, which connects to the lower inlet in the tub
- Instructions (good luck with those!)
Setting up your Lay-z-Spa Miami
The instruction manual leaves a little to be desired, so we took to the internet to find instructions (like this). It helped cut through any confusion cause by the minimal official instructions.
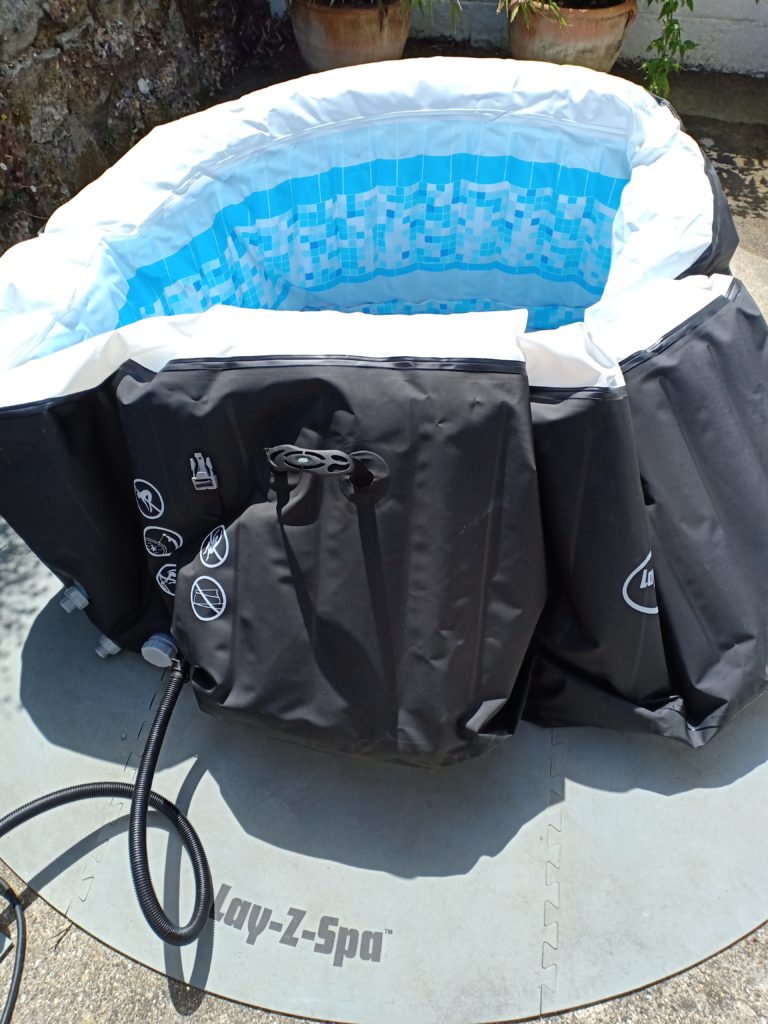
Attach the air hose to the air pump. It screws easily into the aid outlet on the pump.
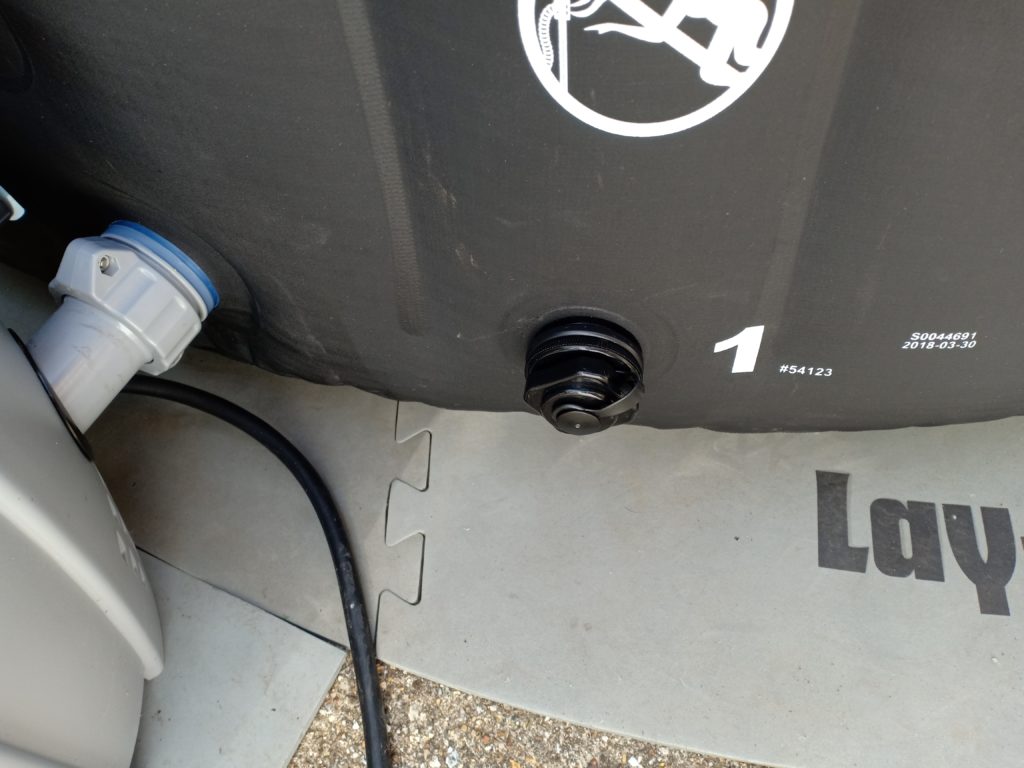
Unscrew the black air valve to connect the air hose into, to inflate the tub.
Note, this photo was taken once I’d pumped it up, which is why the air tube is now connected to the spa in this photo. But you get to see the black air valve, which is why I’m showing it here!
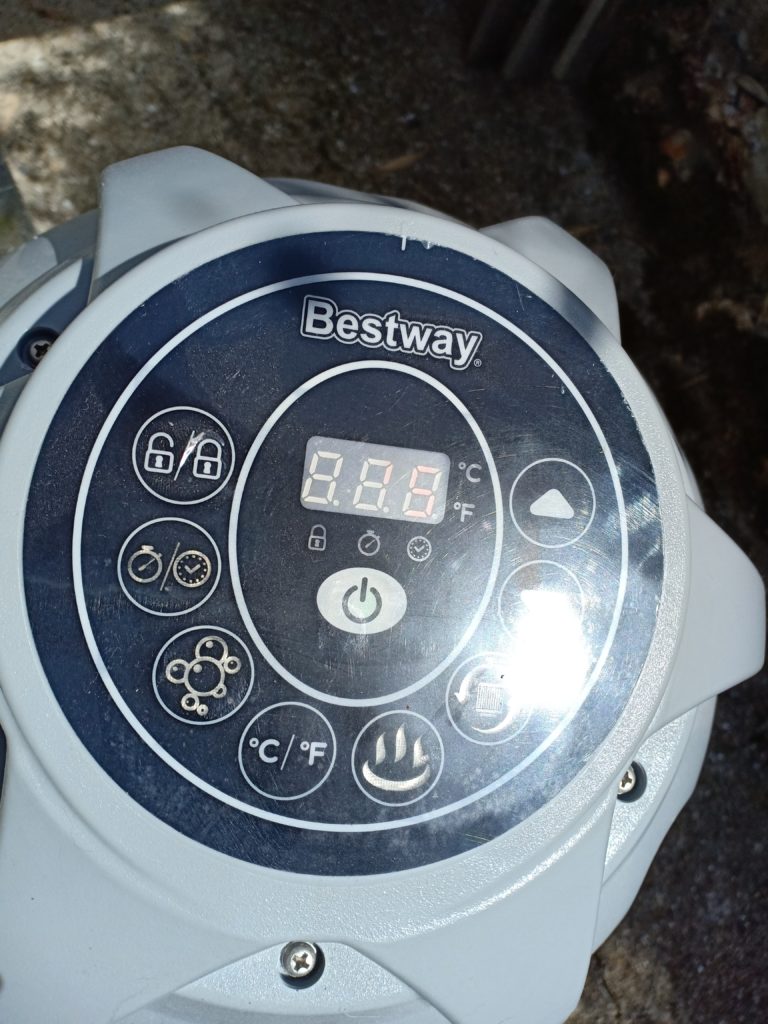
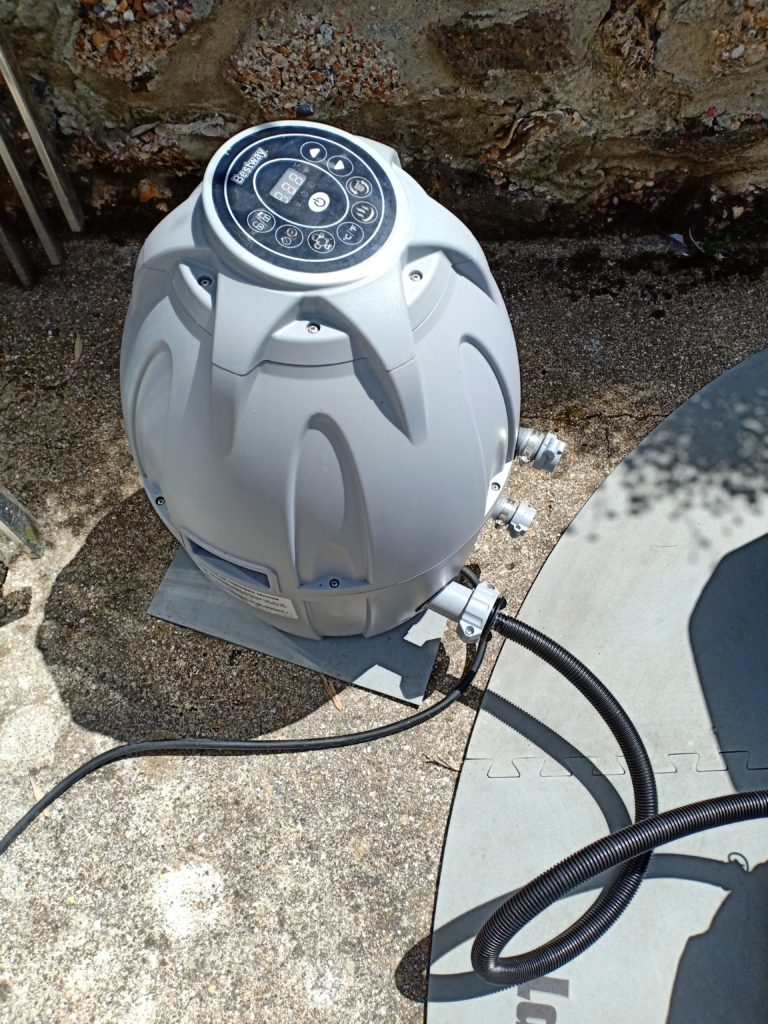
The pump for the Lay-Z-Spa Miami. It has a little protective peel-off cover over the controls initially.
Once turned on (power button in the middle), the Air button is the 3rd down from the left, with lots of bubbles. Press to start the blower to inflate the spa. You may need to press and hold the Lock/Unlock button (top left) if the unit is sleeping.
Stop when it’s fully pumped, with just a little ‘give’ in it. Remove the hose and screw the cap back on the air valve
Floor Protector
Here you can see the clip-together Lay-Z-Spa Floor Protector which we purchased to give the spa a little extra protection. As it slots together it’s easy to take apart for storage. It helps give some extra cushioning for the spa when on solid ground like this.
Setting Up The Lid
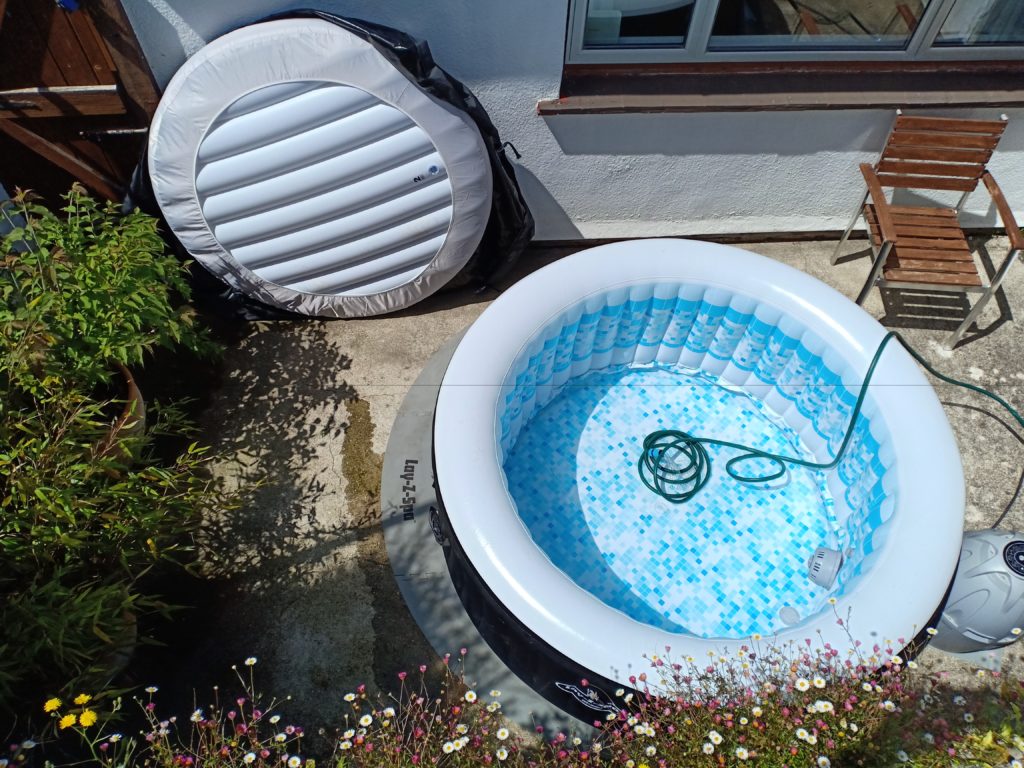
The Lay-Z-Spa Miami includes a clip-on inflatable lid. Slide the inflatable inner into the inside of the lid before inflating. Then using the pump again, blow up the inner and once fully inflated you can pop in the stopper.
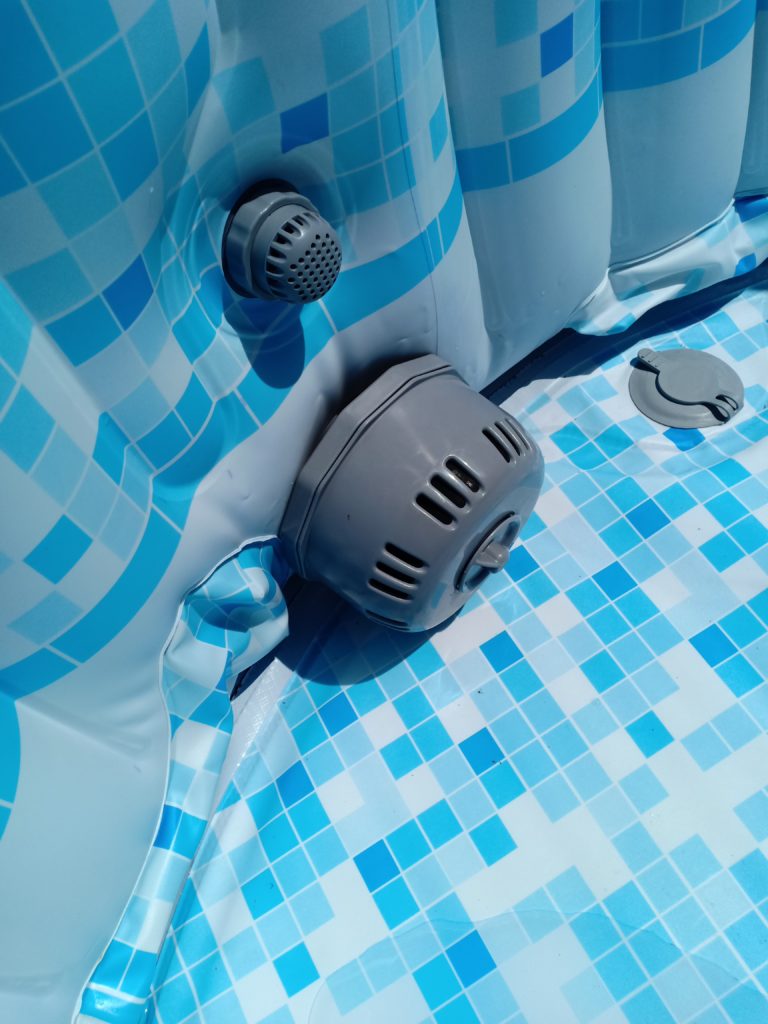
Attaching the Pump
Now the spa and lid are inflated you can attach the Lay-Z-Spa Miami pump to the spa. There are top and bottom water connectors, one taking water into the pump (bottom) the other returning it to the spa (top).
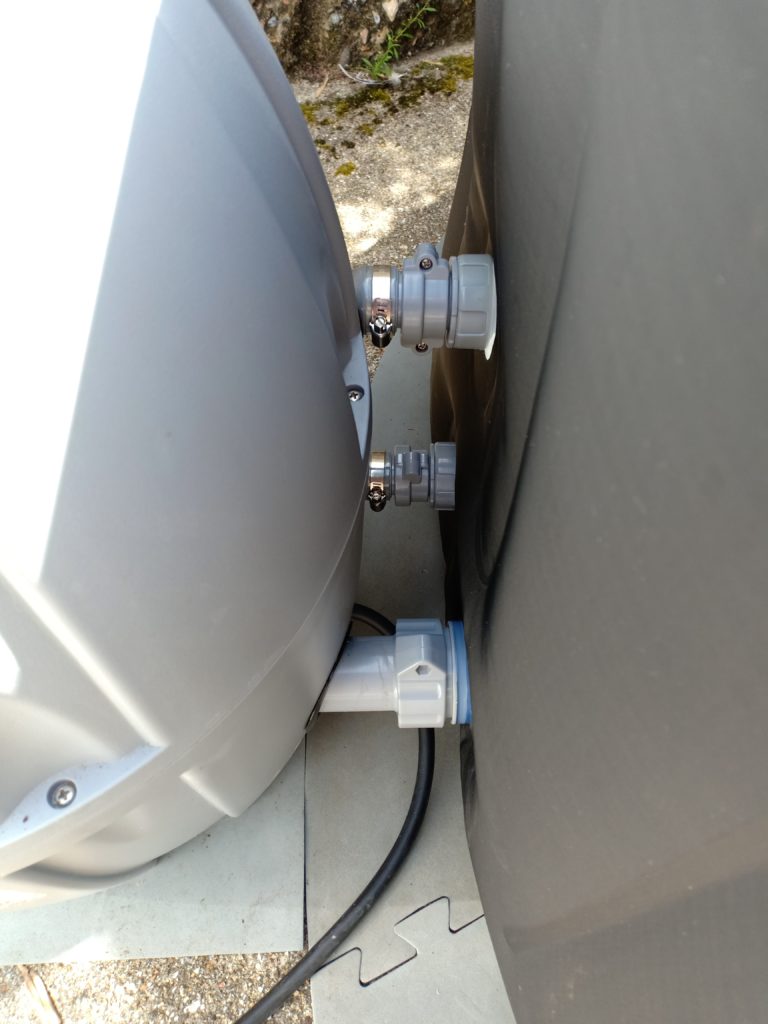
Move the pump slowly towards the spa, until the connectors are touching Then you can carefully thread the pump to the spa. Be careful not to cross-thread.
You can then attach the larger, air hose to the spa. It’s this that will blow air bubbles into the water.
The filter and water outlet are attached net. Both have a screw-on outlet. Then on top of the lower one, screw the filter cover with filter inside. You then screw in the plastic lock into the filter cover in a clockwise fashion.
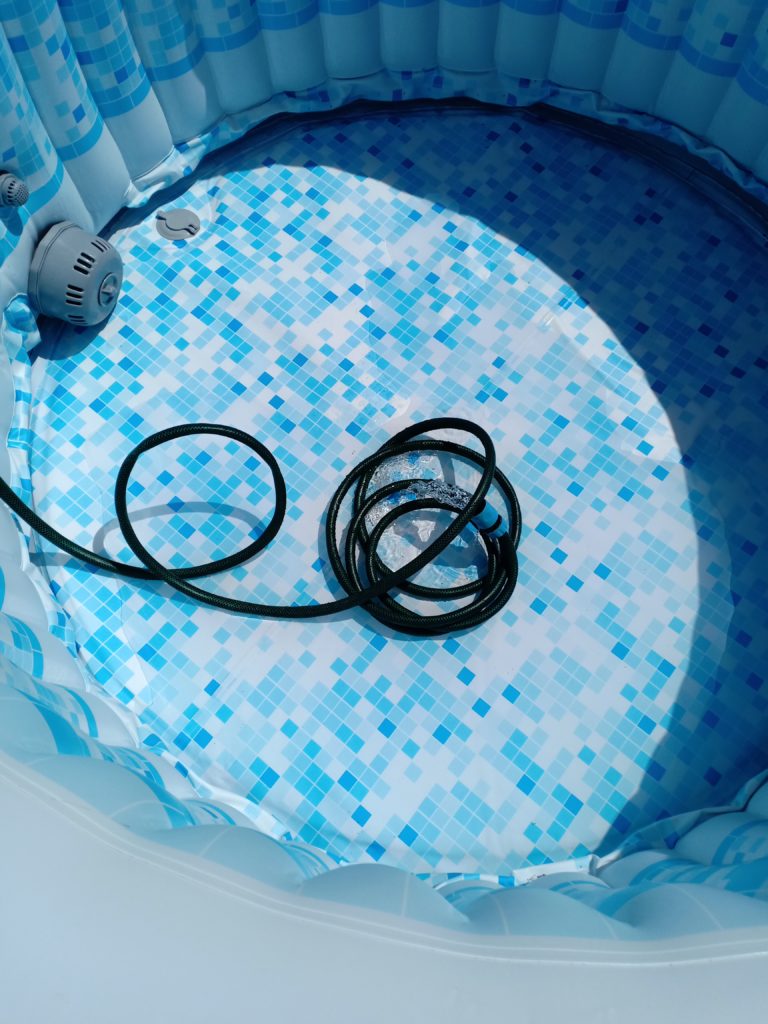
Filling with Water
Now you get to fill the spa with water. Mine took a couple of hours to fill, although how long it takes will depend on what the water pressure is like in your area. There are Minimum (Min) and Maximum (Max) lines marked on the inside of the Spa to show where to fill the water to. Midway between them will do you fine.
Note that from my calculations is costs me about 80p to fill up the spa. This was a lot less than I anticipated. Of course, check your own water costs to fill up an 800 litre spa.
Starting the Pump
Once filled, you can start the pump by pressing the power button in the middle. Again, you may need to hold the unlock button (top left) until it beeps and unlocks.
When turned on, press the filter button (3rd from right) to start the pump running. You can also, at this point, press the heater button, which is the one to the right of the C/F button.
Chlorine Shock Dose
Now the pump is running you need to add a shock dose of chlorine to the tub. This equates to 15g (3 teaspoons) for the 800 litre Lay-z-Spa Miami. The best way to do this is to have a pot that you always use for the chlorine and don’t use it for anything else. Add some warm water to the pot, then the 3 teaspoons of chlorine, and then mix until dissolved. Again, I’d recommend keeping a spoon spare to only use for the purpose of mixing your chlorine. Also, mix it outside, to ensure good airflow around you.
Once mixed, carefully add the mixture to the hot tub water. You’ll have to wait 24 hours (at least) before using the tub.
Starter Kit
We bought a Clearwater Lay-Z-Spa Chemical Starter Kit to provide the chemicals needed to keep the spa in tip-top, safe condition. It includes:
- 500 g chlorine
- 700 g pH minus
- 500 g pH plus
- 500 ml foam remover
- 25 test strips
You’ll get through 500g of chlorine reasonably quickly. Looking at my Amazon orders I can see we purchased extra chlorine 10 weeks after purchasing our initial chemical starter kit. So it’s fair to say the 500g lasts about that long! We bought a 1kg pot of chlorine granules by Bestway.
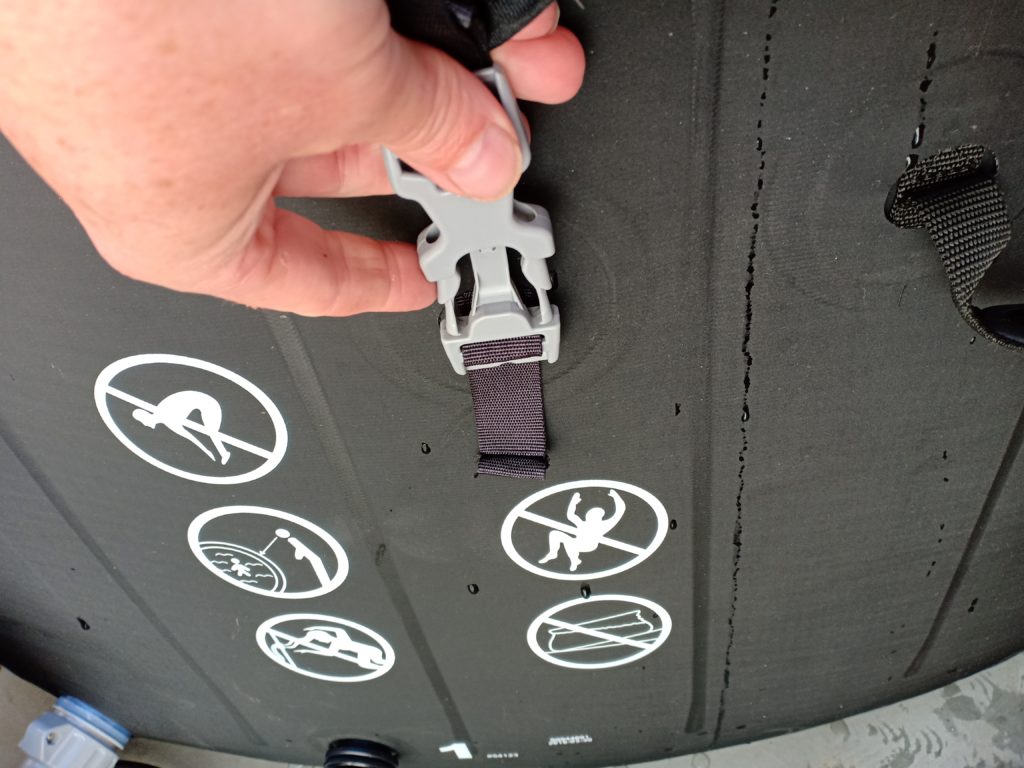
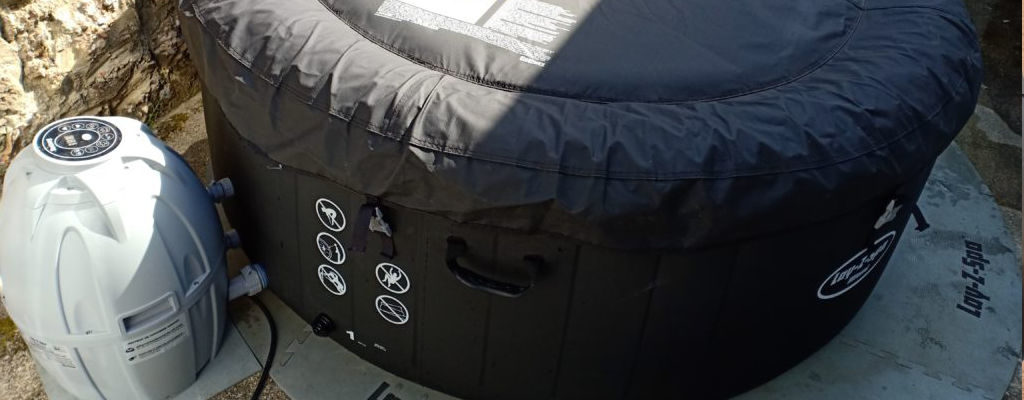
Attaching the Lid
Now you can attach the lid, by placing it on top of the tub and attaching the clips to the ones on the tub. They click nicely into place, you shouldn’t need to force them. There is spare material attached to both clips to adjust the tension.
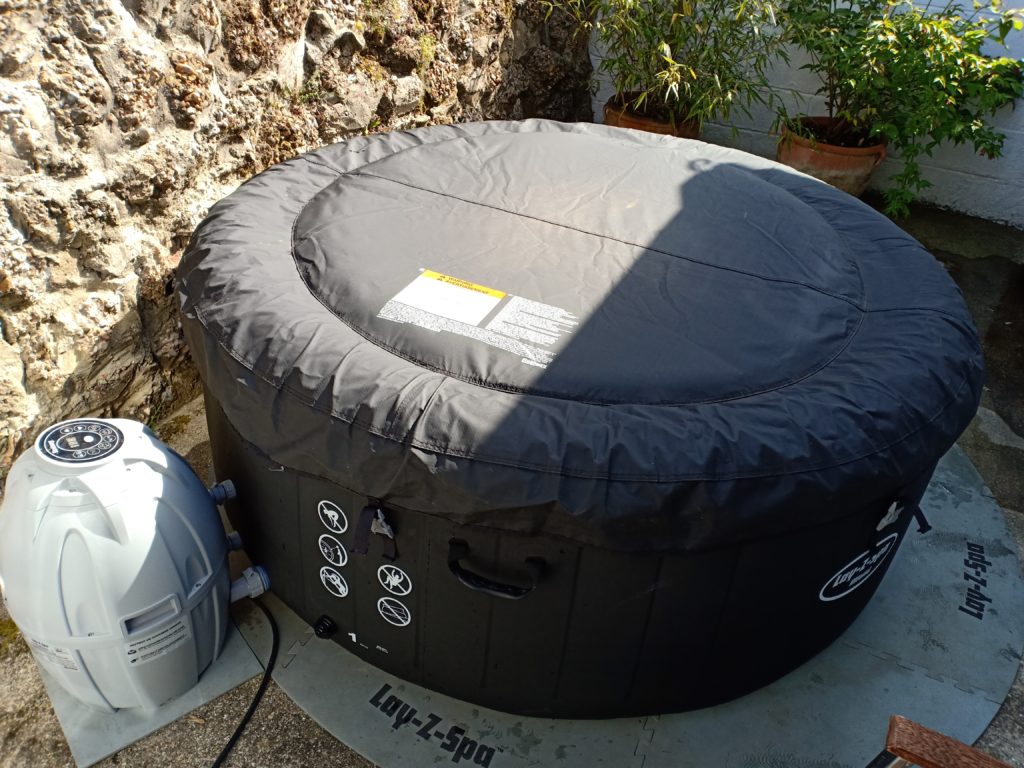
The lid helps to keep rain and dirt out, and keep warmth in. Note that if there is heavy rain it does collect in the middle and cause the lid to sag. I haven’t found out how to avoid that, so I use a dustpan to scoop the water off.
Testing the spa water for chemicals
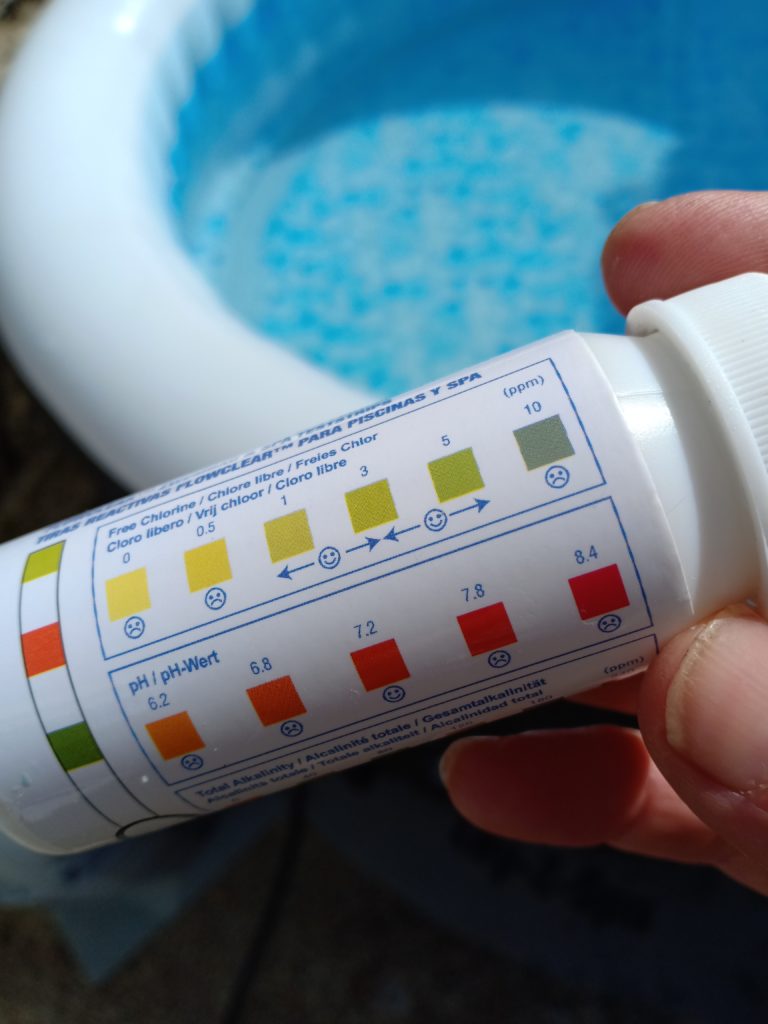
From your dip strip tub take out one of the strips.
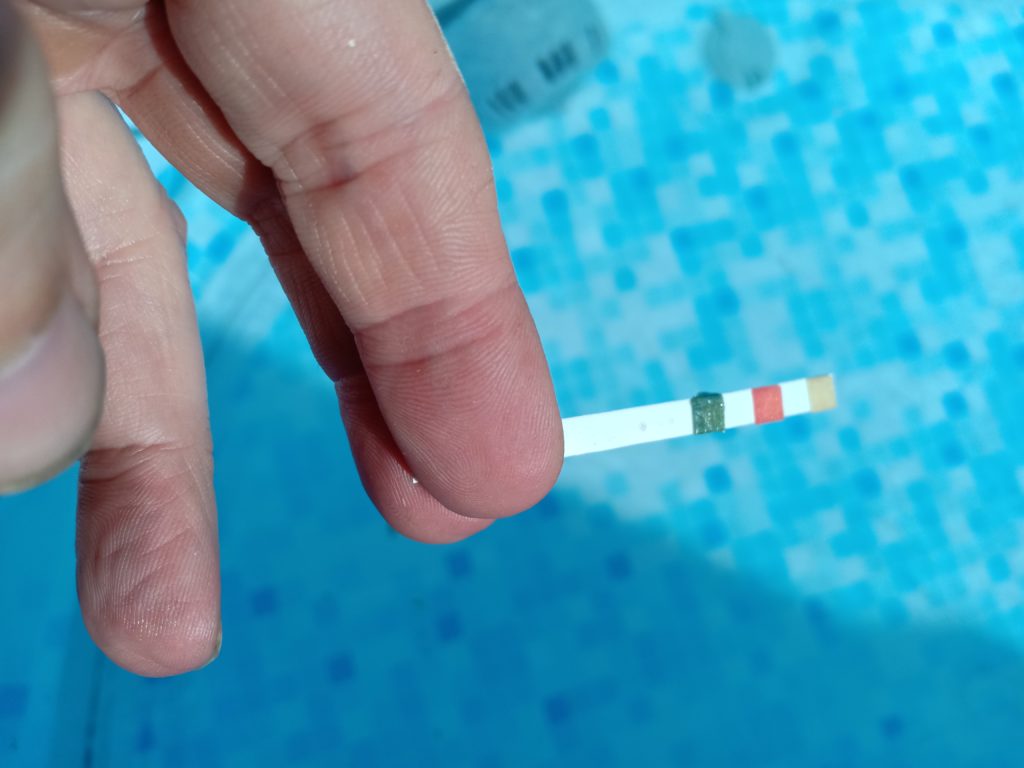
Dip it in the water so all three pads are submerged, take it out and wait 10 seconds to give it time to develop.
Now check your test strip against the chart. The first coloured pad you check against the first chart, in this case “Free Chlorine”. Gauge where the colour matches on the chart to determine the Free Chlorine level. You do the same for the middle pad against the middle row (pH) and bottom pad against the bottom row (Total Alkalinity).

Note that different testing kits may display them differently, but the process is the same.
Daily Chlorine Dose
The daily dose of chlorine to be added is 7g, approximately 1.5-2 teaspoons. But you should check your water to see if more is needed.
In addition, you may need to adjust the pH by using one of the chemicals in your starter kit. pH Plus is used if you have a low pH, and pH Minus is used if your pH is too high.
Considering you’ll be testing the water every day, you’ll soon get through the test strips. We bought the Bestway 3-in-1 Pool and Spa Test Strips (50 strips). The larger quantity makes it a little more affordable than a small pot of test strips.
General Lay-z-Spa maintenance
You keep the pump and filter on to circulate and clean the water. Every few days you should stop the pump and remove the filter for cleaning.
Unscrew the retainer in the middle of the filter, which will release the casing. You can then take the casing and filter out. If the filter is relatively new you can clean it under a running tap to remove debris, hair, muck etc. The return it to the spa with the casing, and reattach the retaining screw.
If the filter is looking jaded you should replace it with a brand new one. We tend to change ours once a month, but it depends on usage of the tub and how dirty the filter gets.
We purchased a bulk pack of filters, the Bestway Lay-Z-Spa Filter Cartridge Size VI, 6 x Twin Pack. This equates to 12 filters in total, as it 6 packs of 2. At least buying in bulk like this you can drive costs down a little.
Packing up your Lay-z-Spa Miami
Whilst your spa is for outdoor (and indoor) use, you shouldn’t leave it outdoors when the temperature is edging near freezing. You pump doesn’t take well to having frozen water inside it!
You’ll need to empty it and pack it up for storage over winter. A word of warning though – don’t be too rough when storing the tub itself. When we set up ours after it’s first winter storage we found that there were a couple of leaks in the tub. Unfortunately we weren’t able to fix them, the Bestway patch kit left a lot to be desired. One of the leaks was on a join, which made it near-on-impossible to repair.
We had to buy a replacement tub, which wasn’t cheap.
Final thoughts
We really enjoy using our Lay-z-Spa Miami. It’s quite an initial outlay, plus:
- Water. Approximately 80p to fill with water each time (every month, approximately).
- Electricity. For us the daily running costs were approximately £1.50.
- Chemicals. These don’t cost much at all on a daily basis.
- Filters. These can last 2-4 weeks, so not a huge expense.
The spa needs some ongoing time to keep it ticking over, which includes:
- Daily checking and adding of chemical
- Cleaning the filter every few days
- Changing the filter every 2-4 weeks
- Draining and refilling with water every 4-6 weeks
For us the benefits outweigh the cost and effort to maintain it. We enjoy a leisurely evening soak in the tub, watching the planes, birds, bats and bugs flying overhead, as the day changes to night and stars start to come out.
If you like a bit of pampering, check out my review of the Beurer FB50 Luxury Foot Bath Spa With Water Heater…